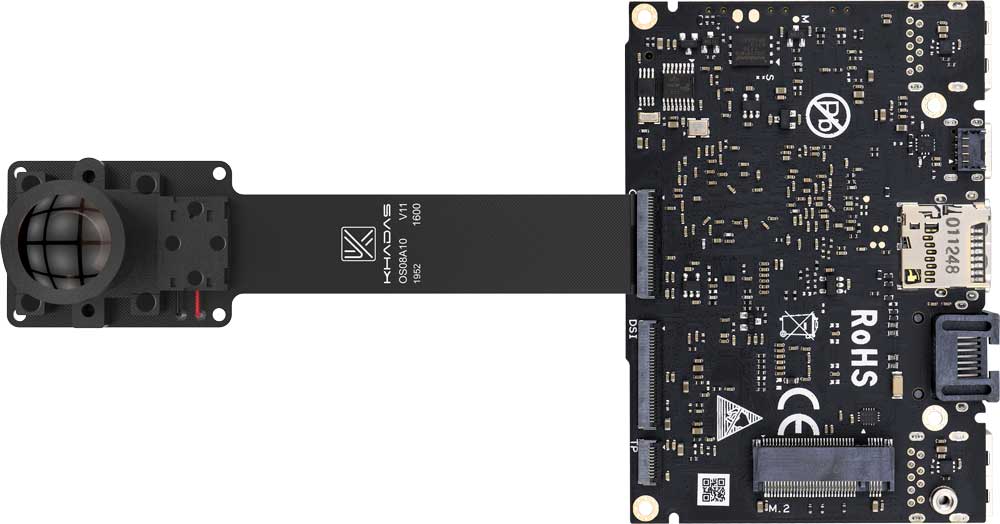
连接摄像头 按照下面图片的方式,将摄像头连接到板子的是MIPI-CSI接口。
注意 接反会烧坏摄像头,连接前请仔细查看图片的接法。
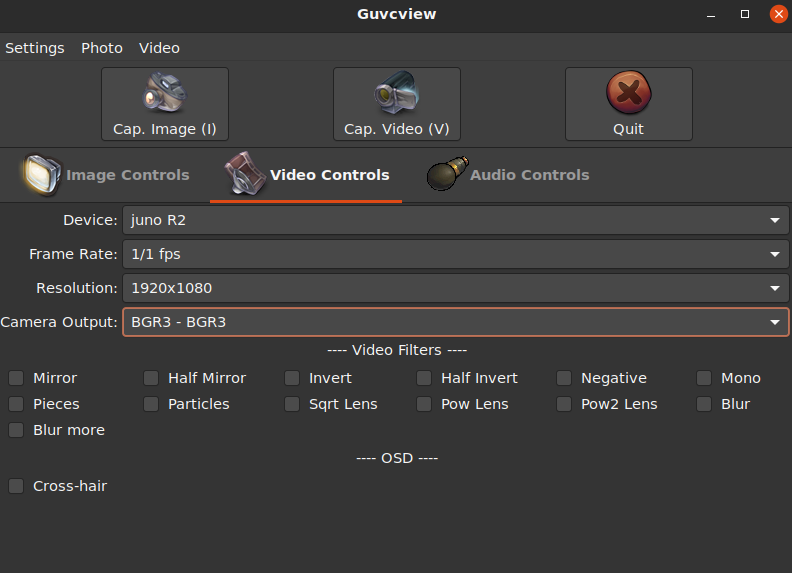
通过Guvcview使用摄像头 打开Guvcview 桌面版本已经预装了Guvcview,直接在软件列表里找到并打开这个软件
设置Guvcview MIPI摄像头的名称为Juno R2
分辨率设置成1920x1080,RGB格式为BGR3-BGR3
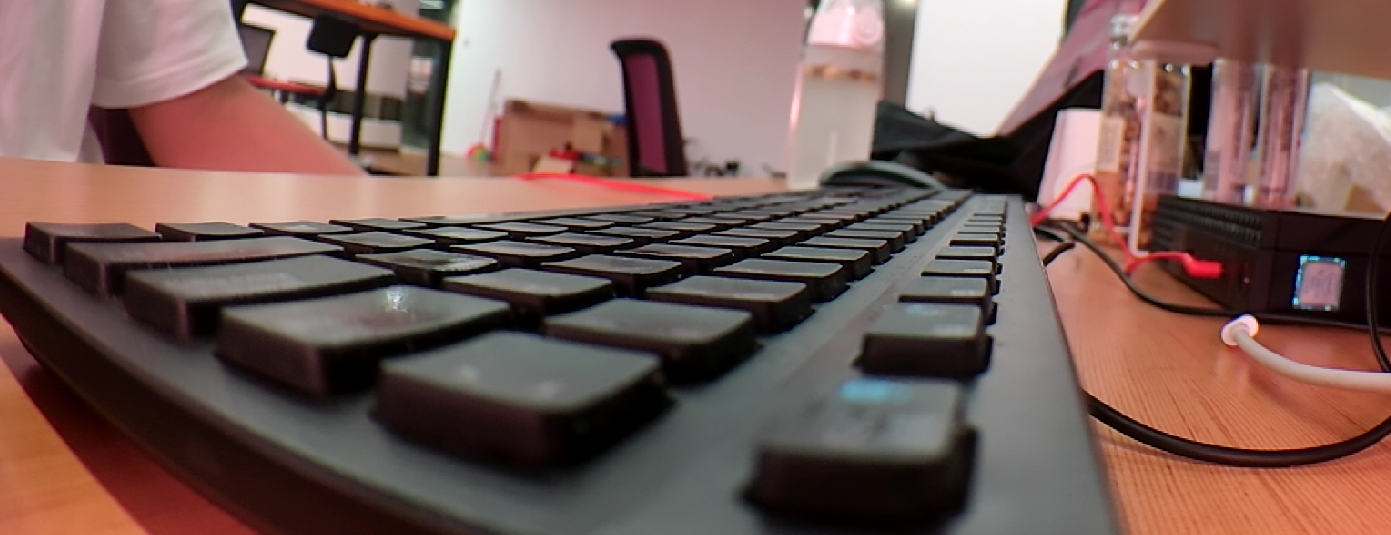
设置成功以后,就能正常的使用摄像头了
测试IR-Cut 通过v4l2可以测试使用IR-Cut
测试需要在framebuffer模式下进行,通过Ctrl+Alt+F1的键盘组合,切换到framebuffer模式
IR-Cut不打开
1 v4l2_test -c 1 -p 0 -F 0 -f 0 -D 0 -R 1 -r 2 -d 2 -N 1000 -n 800 -w 0 -e 1 -I 0 -b /dev/fb0 -v /dev/video0
IR-Cut打开
1 v4l2_test -c 1 -p 0 -F 0 -f 0 -D 0 -R 1 -r 2 -d 2 -N 1000 -n 800 -w 0 -e 1 -I 1 -b /dev/fb0 -v /dev/video0
使用Gstreamer录制视频 1 $ gst-launch-1.0 v4l2src name=vsrc device=/dev/video0 ! video/x-raw,width=1920,height=1080,framerate=60/1,format=RGB ! filesink location=.//test.rgb
录制的视频保存在test.rgb中
通过Opencv使用MIPICamera Python python版本的源码如下:
1
2
3
4
5
6
7
8
9
10
11
12
13
14
15
16
17
18
19
20
21
22
23
24
25
26
27
28
import cv2if __name__ == '__main__' : val = True cap = cv2.VideoCapture(0 ) cap.set (cv2.CAP_PROP_FRAME_WIDTH, 1920 ) cap.set (cv2.CAP_PROP_FRAME_HEIGHT, 1080 ) fourcc = cv2.VideoWriter_fourcc(*'XVID' ) out = cv2.VideoWriter("./test.avi" , fourcc, 20.0 , (640 , 480 ), True ) while val is True : ret, frame = cap.read() cv2.cvtColor(frame,cv2.COLOR_RGB2BGR) if frame is None : break else : out.write(frame) cv2.imshow("video" , frame) k = cv2.waitKey(1 ) & 0xFF if k == 27 : break cap.release() out.release()
C++ C++版本的源码如下:
1 2 3 4 5 6 7 8 9 10 11 12 13 14 15 16 17 18 19 20 21 22 23 24 25 26 27 28 29 30 31 32 33 34 35 36 37 #include <opencv2/highgui/highgui.hpp> #include <opencv2/imgproc/imgproc.hpp> #include <opencv2/core/core.hpp> #include <iostream> #include <string> using namespace cv;using namespace std;int main (int argc, char ** argv) int count=100 ; string str = argv[1 ]; string res=str.substr (10 ); VideoCapture capture (stoi(res)) ; capture.set (CAP_PROP_FRAME_WIDTH, 1920 ); capture.set (CAP_PROP_FRAME_HEIGHT, 1080 ); while (count) { Mat frame; capture >> frame; if (frame.empty ()) { break ; } int h = frame.rows; int w = frame.cols; const char *name = "video" ; namedWindow (name, 0 ); imshow (name, frame); waitKey (30 ); count--; } return 0 ; }
编译命令
1 $ gcc -o mipi mipi.cpp -lopencv_imgproc -lopencv_core -lopencv_videoio -lopencv_imgcodecs -lopencv_highgui -std=c++11 -std=gnu++11 -Wall -std=c++11 -lstdc++ -I/usr/include/opencv4
运行:
更多资料: