Here’s an example of upgrading Android.
The operation of VIM1, VIM2 and VIM3 is almost the same, so this document will take VIM1 as an example.
Preparation:
- Download the Burn Card Maker Tool and extract it.
- Prepare an SD-Card and a Card Reader. Your card will be formatted, so you might want to back up your data first.
- A display/monitor that supports HDMI video-input.
Upgrading Steps:
- Run
Burn_Card_Maker.exetool:
- Insert the SD-Card into your PC, it should appear as a new drive letter. Then:
- Select your SD-Card from the drop-down list of
Choose the disk. - [Optional] Enable
To Partition and Format(Check this the first time you’re making a Booting Card for VIM). - Click the
Openbutton and choose an image for VIM. - Click the
Makebutton to create a Burning Card for VIM: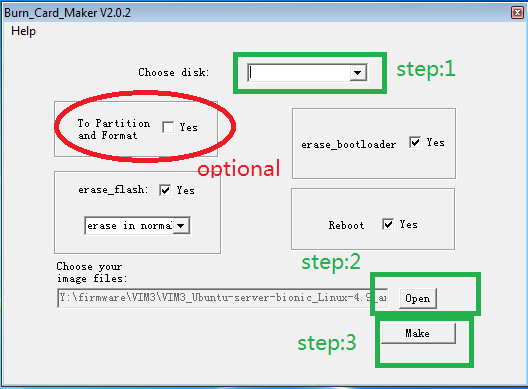
- Select your SD-Card from the drop-down list of
- When everything is finished, click the
Successbutton to terminate the current operation. - Unplug the SD-Card from your PC and insert it into the SD-Card slot on your VIM.
- Connect the USB-C & HDMI cables, and VIM will power-on automatically.
- Place your VIM into Upgrade Mode to complete your Firmware upgrade:
- Long press
Powerkey without release it. - Short press
Resetkey and then release it. - Count 2 to 3 seconds and release the
Powerkey to enter into Upgrade Mode.
- Long press
If everything went fine, now your display/monitor should show this: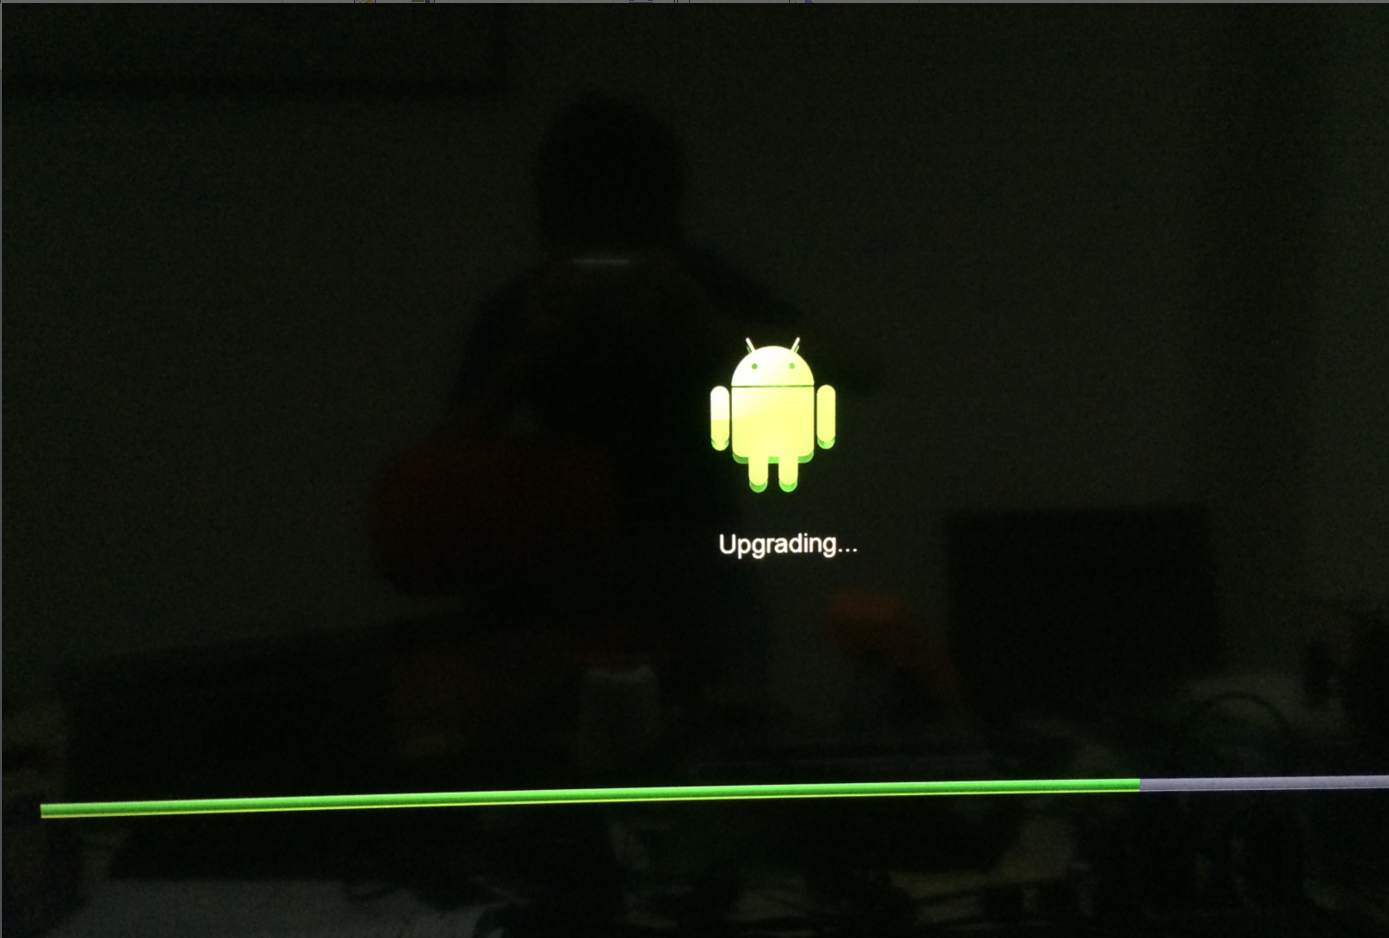
Have Fun!
See Also: