Confirm serial port hardware pins
Uart_C pin in 40 pins header is pin15 and pin16
- VIM3-GPIO-Pin-Out
vim3 uart_C default is enabled in kvim3.dts,the corresponding dev node is /dev/ttyS31
2
31443 &uart_C {
1444 status = "okay";
1445 };
How to use uart by comassistant apk
1) Through the serial port to USB adapter board, one end is connected to the computer, the other end is connected to pin 15, pin 16
2) install the comassistant.apk,the apk can test uart send and recieve funtion
3) the run result is as following,comassistant apk recevie 12345678 from pc , and send “serial send test” to pc
4) pc receive “serial send test”,show in serial tool secureCRT
1 | serial send testserial send testserial send testserial send testserial send testserial send testserial send testserial send testserial send testserial send testserial send testserial send testserial send testserial send testserial send test serial send testserial send testserial send testserial send testserial send testserial send testserial send testserial send testserial send testserial send testserial send testserial send testserial send testserial send testserial send testserial send testserial send testserial send testserial send testserial send testserial send test |
How to use uart by khadas api
when you download khadas_api_demo source code ,you will find the vim3_demo.apk,in api ,it provides serial operation interface,for example
1) Open the serial port according to the path and baud rate, and set the callback function
1 | private boolean openSerialPort(String path,int baudrate){ |
2) Send string to serial port
1 | String sendTxt = "123456789abcdef0"; |
3)
1 | serialPortHelper.closeDevice(); |
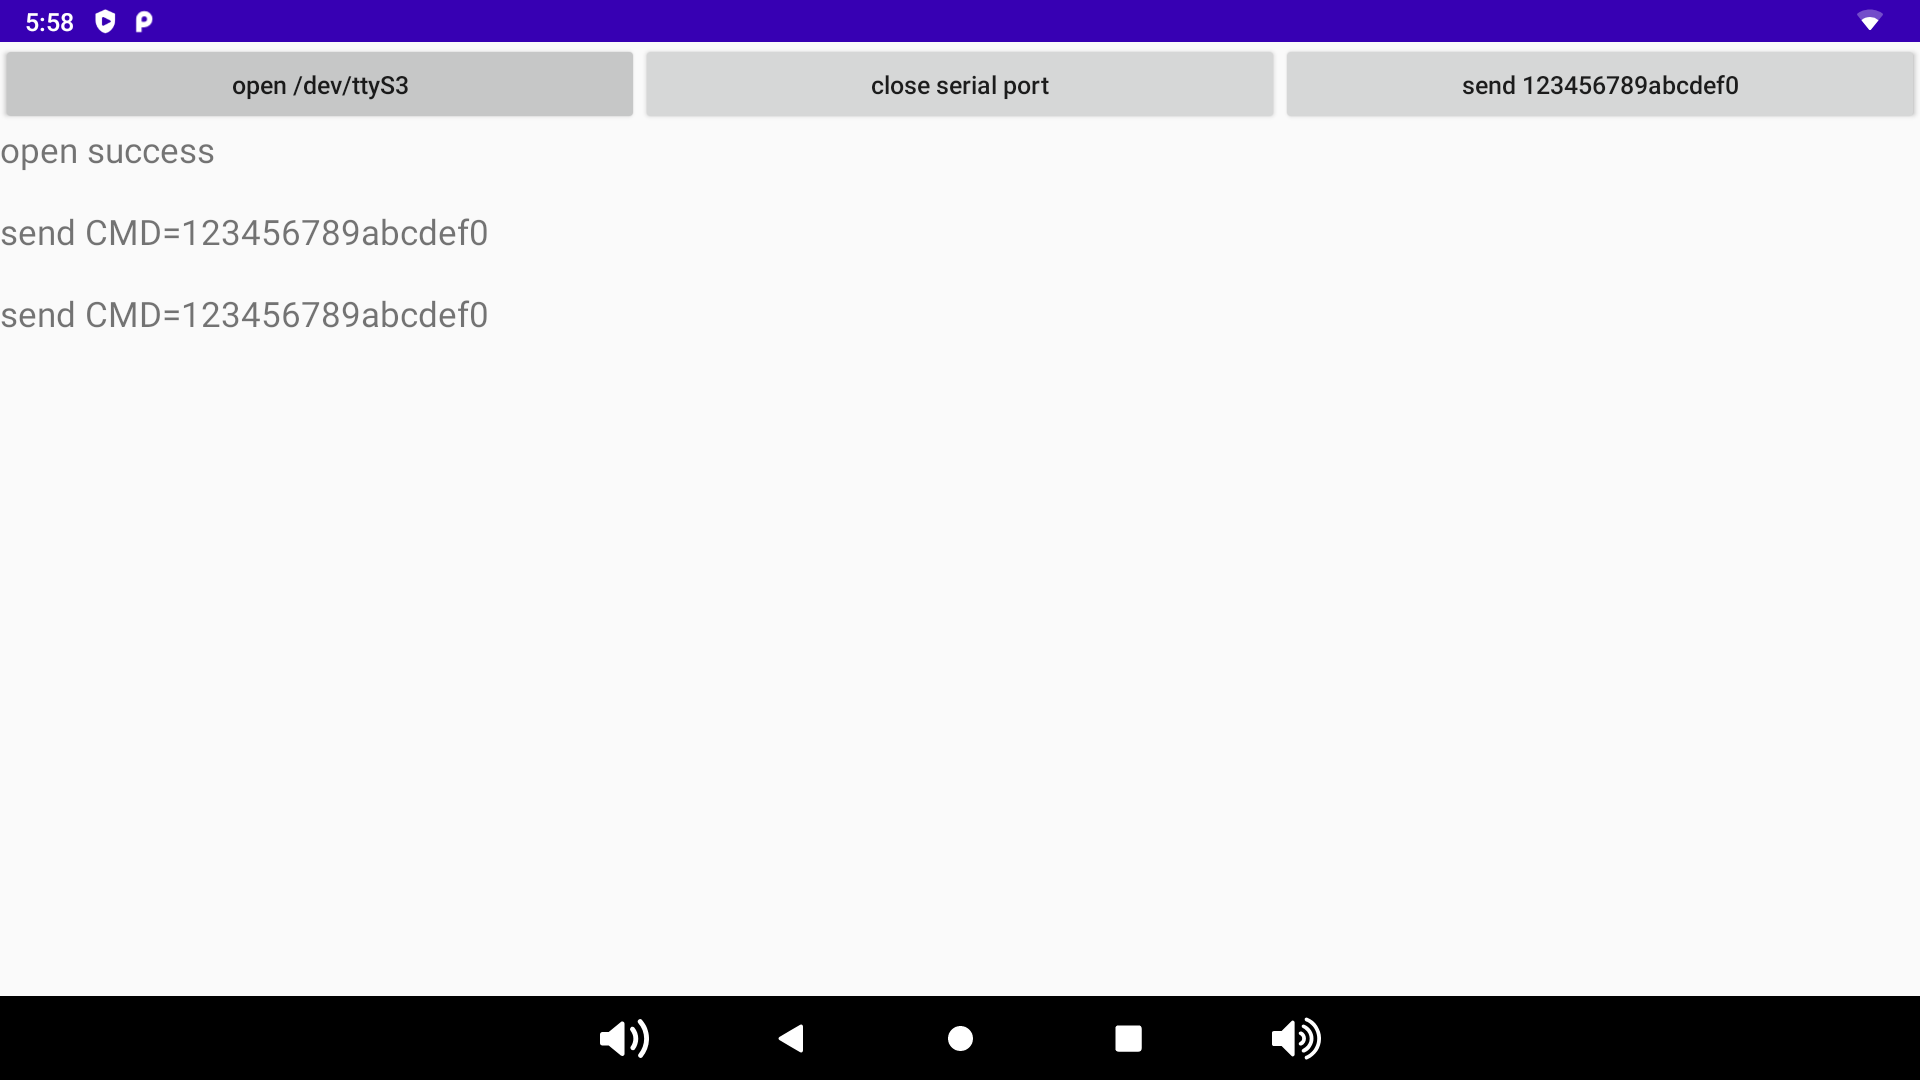
4) run result in vim3_demo.apk as following