Check operators and frequency bands supported by your region
You can view it on the following two websites:
LTE module working mode setting
Install minicom in your boarad
1 | sudo apt update |
Setting to USBNet mode
1 | minicom -D /dev/ttyUSB2 |
atfer open minicom , enter:
1 | AT+QCFG="usbnet",2 |
Power down and restart
LTE module needs power down and restart to switch mode. Unplug VIMS and plug in again. LTE module now works in usbnet mode
Restore LTE module
1 | minicom -D /dev/ttyUSB2 |
The default mode is 0
1 | AT+QCFG="usbnet",0 |
Power down and restart to switch back to default mode
Use LTE Module with Ubuntu Desktop
Xfce Desktop
Step1: Open edit connections
Find edit connections in network menu.
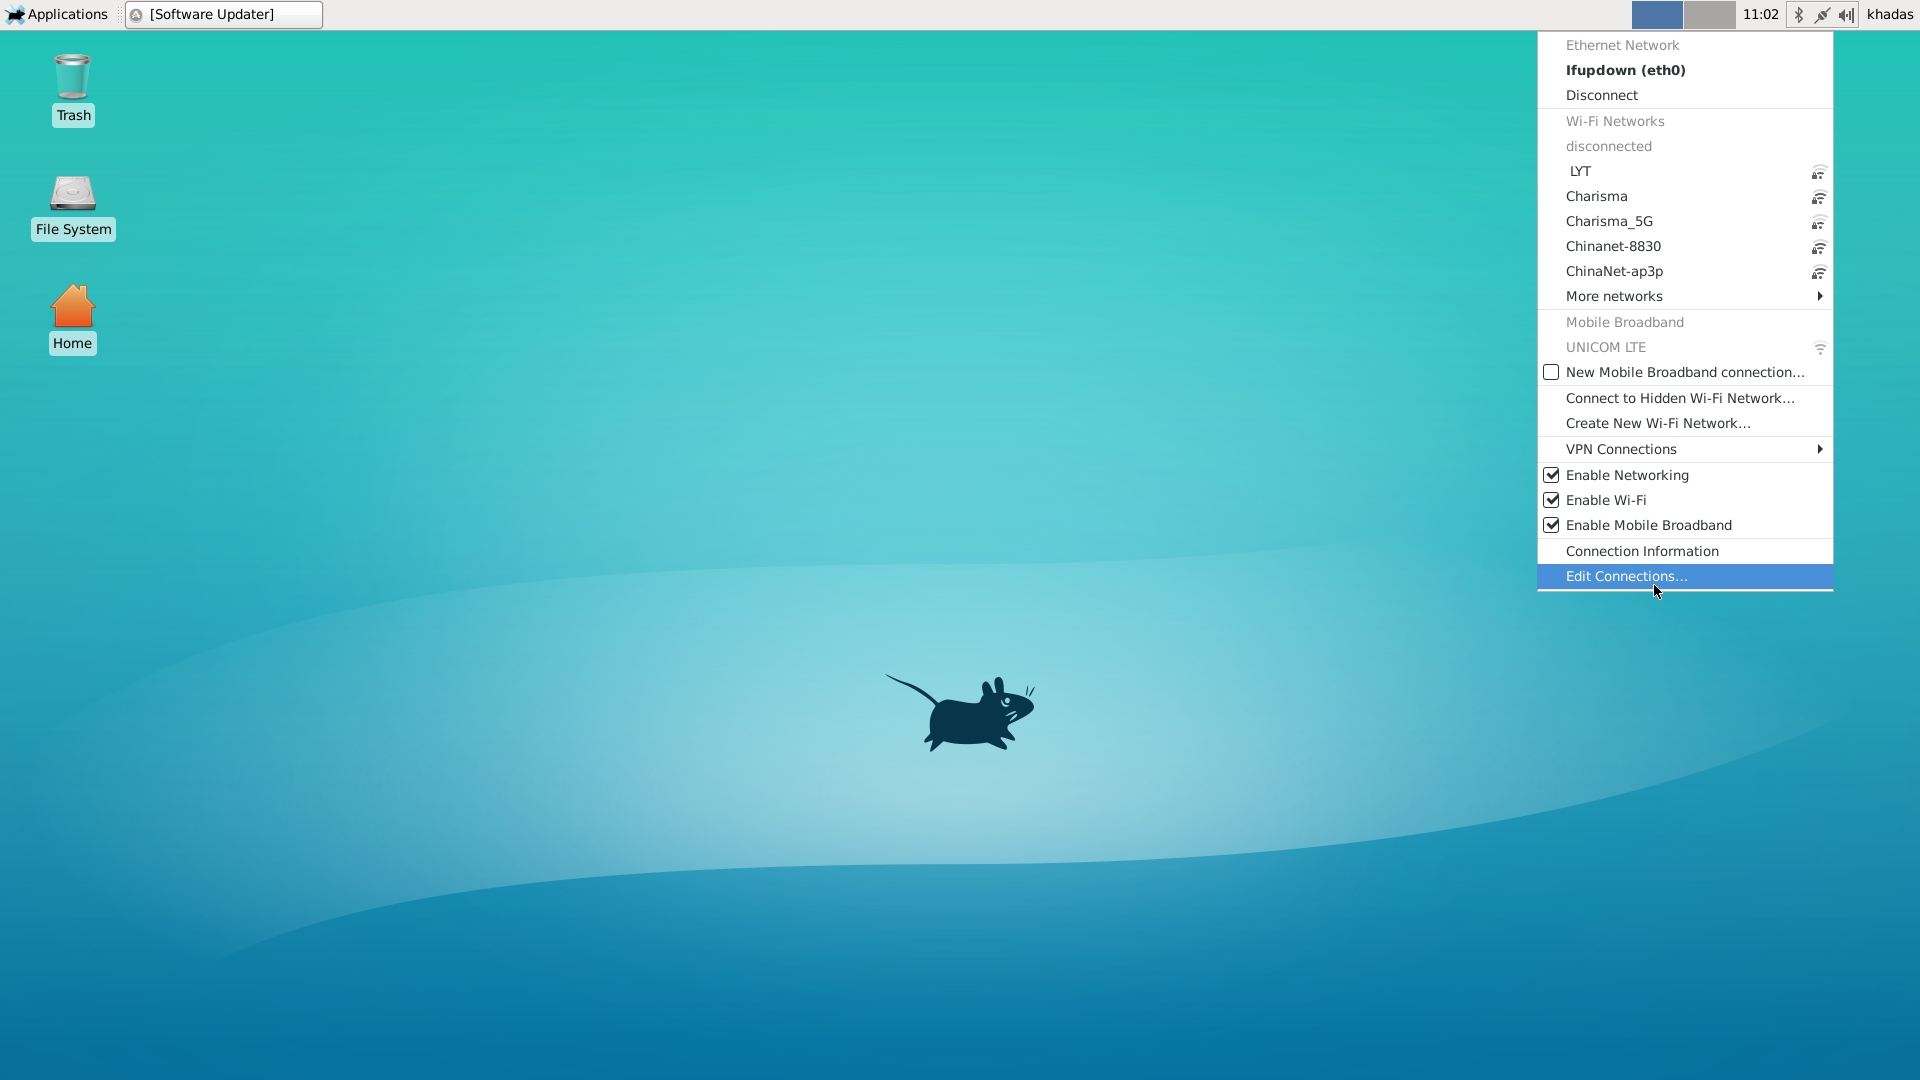
The lastest option is edit connections.
Step2: Add new connect
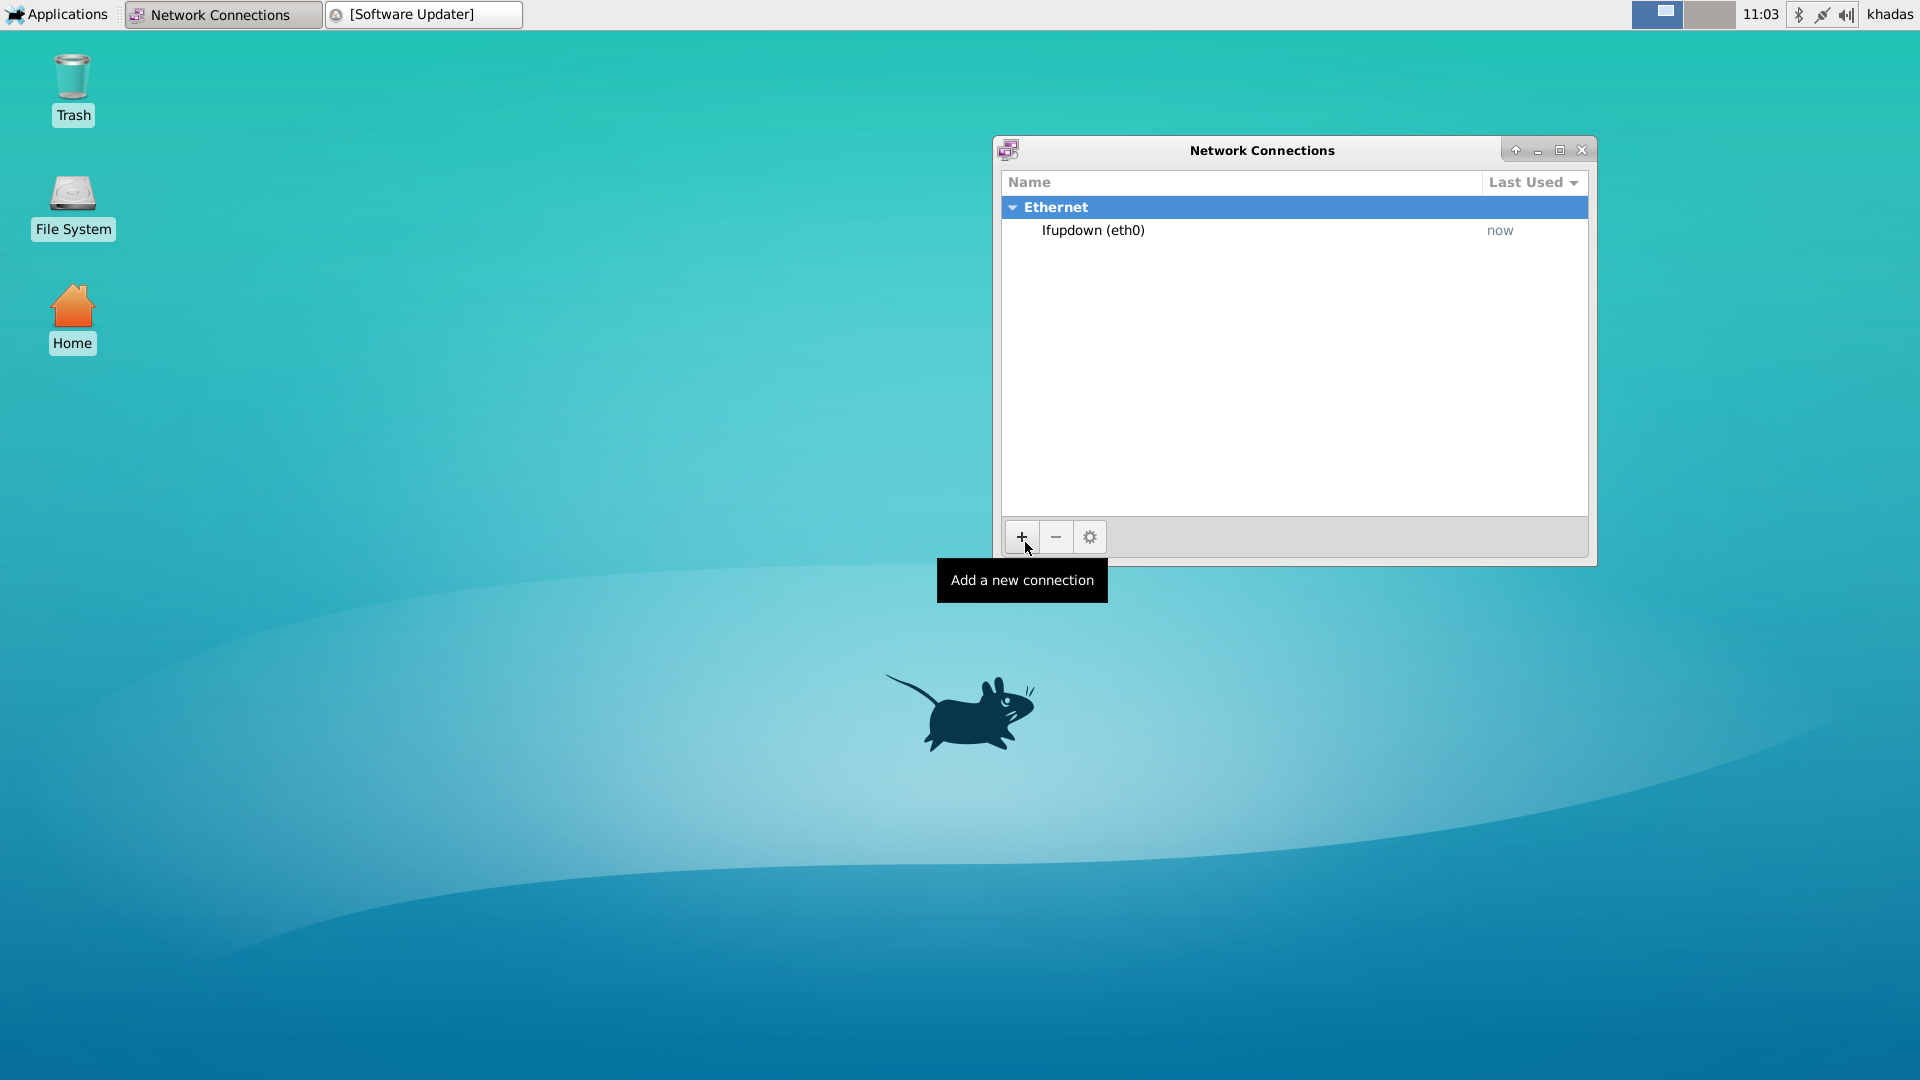
You can find the + option in the lower left corner.
Step3: choose connect type
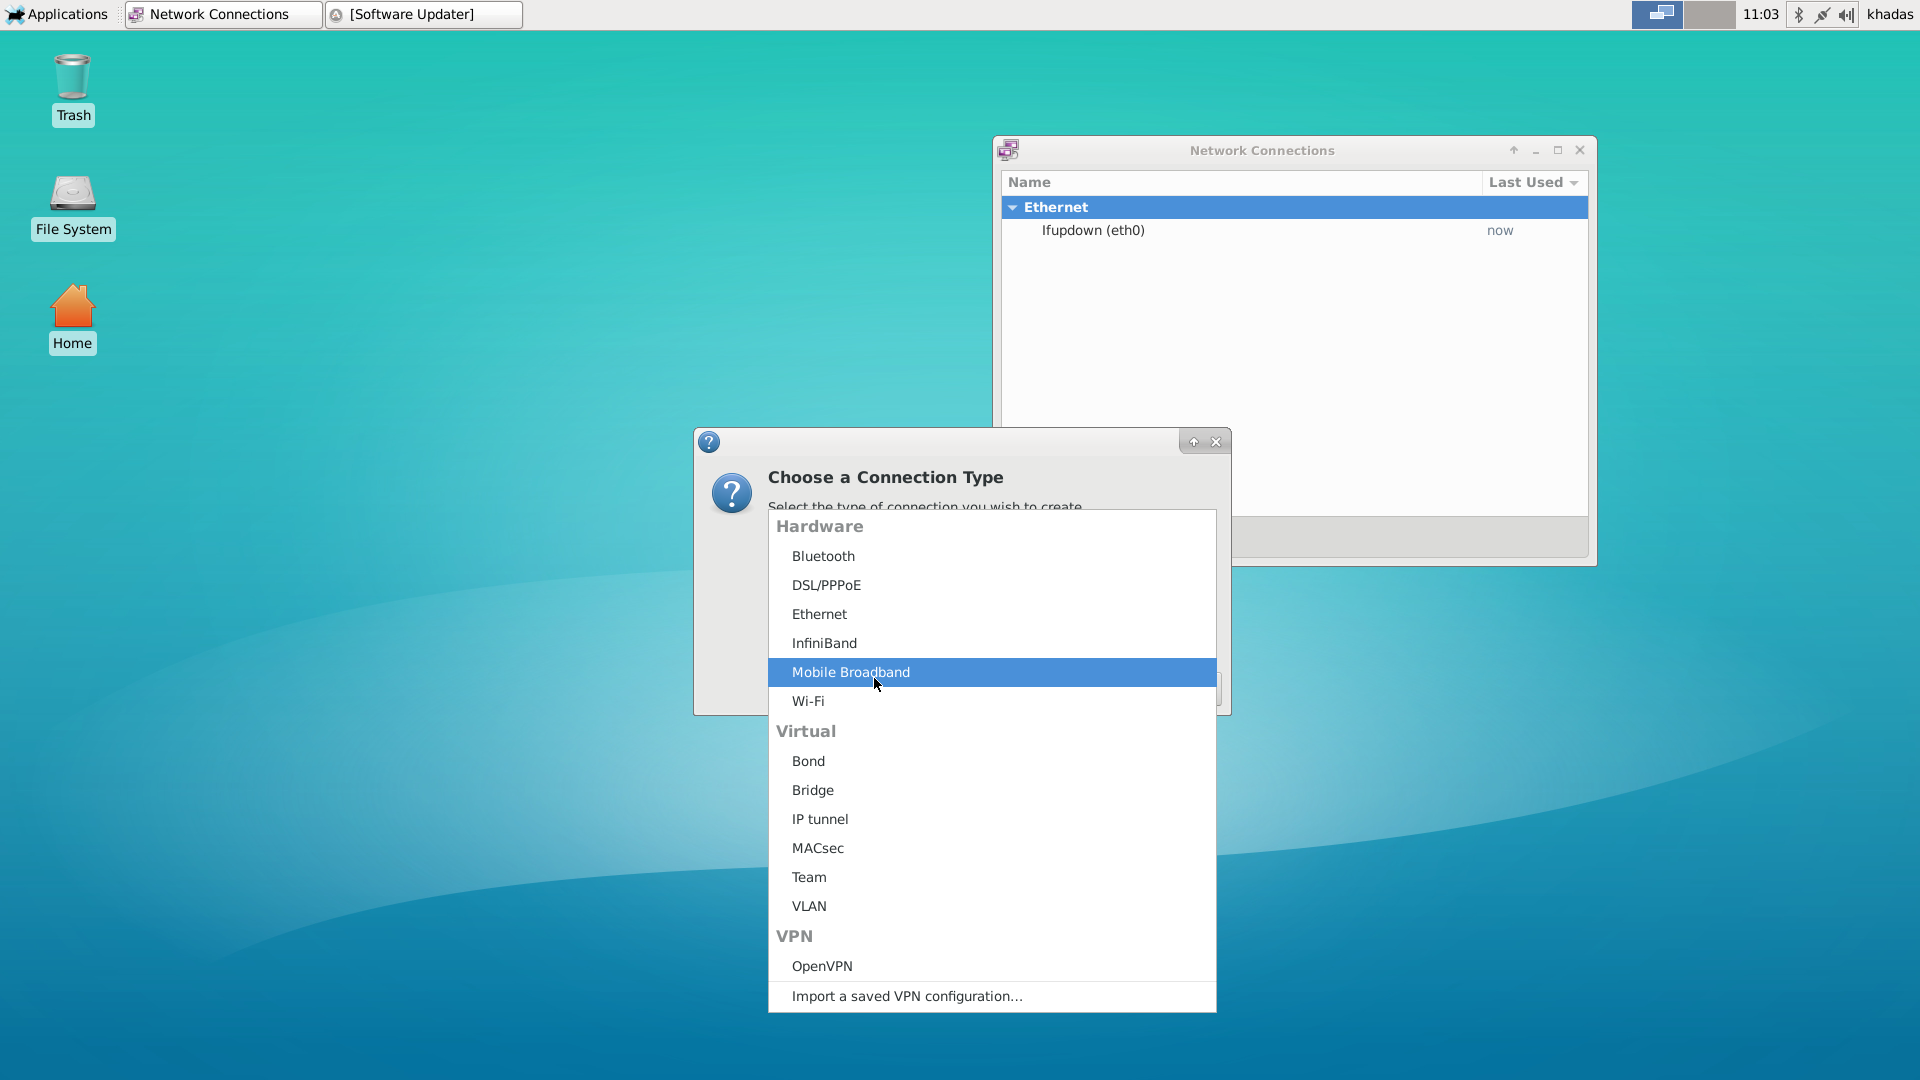
The Mobile Broadband that can be use for LTE Module
Step4: Choose you provider’s country
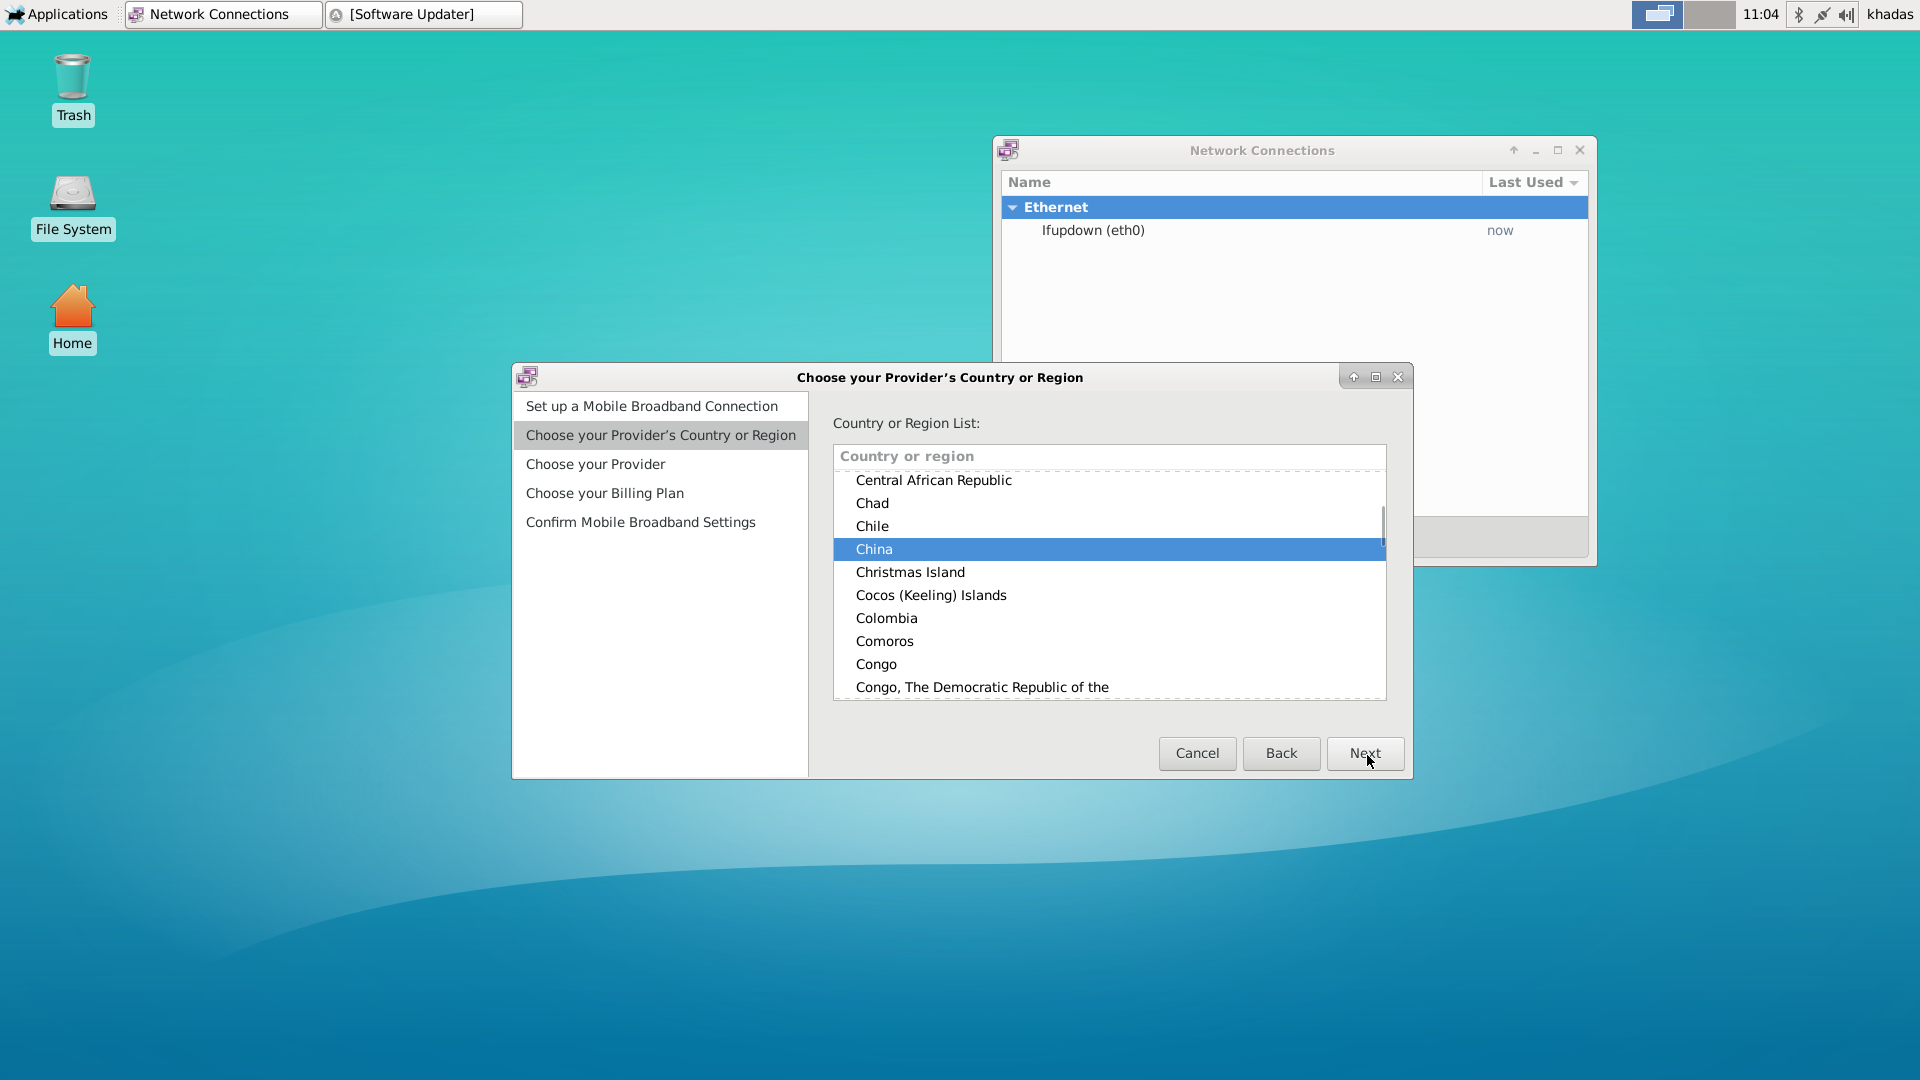
Choose you provider’s country .
Step5: Choose you provider
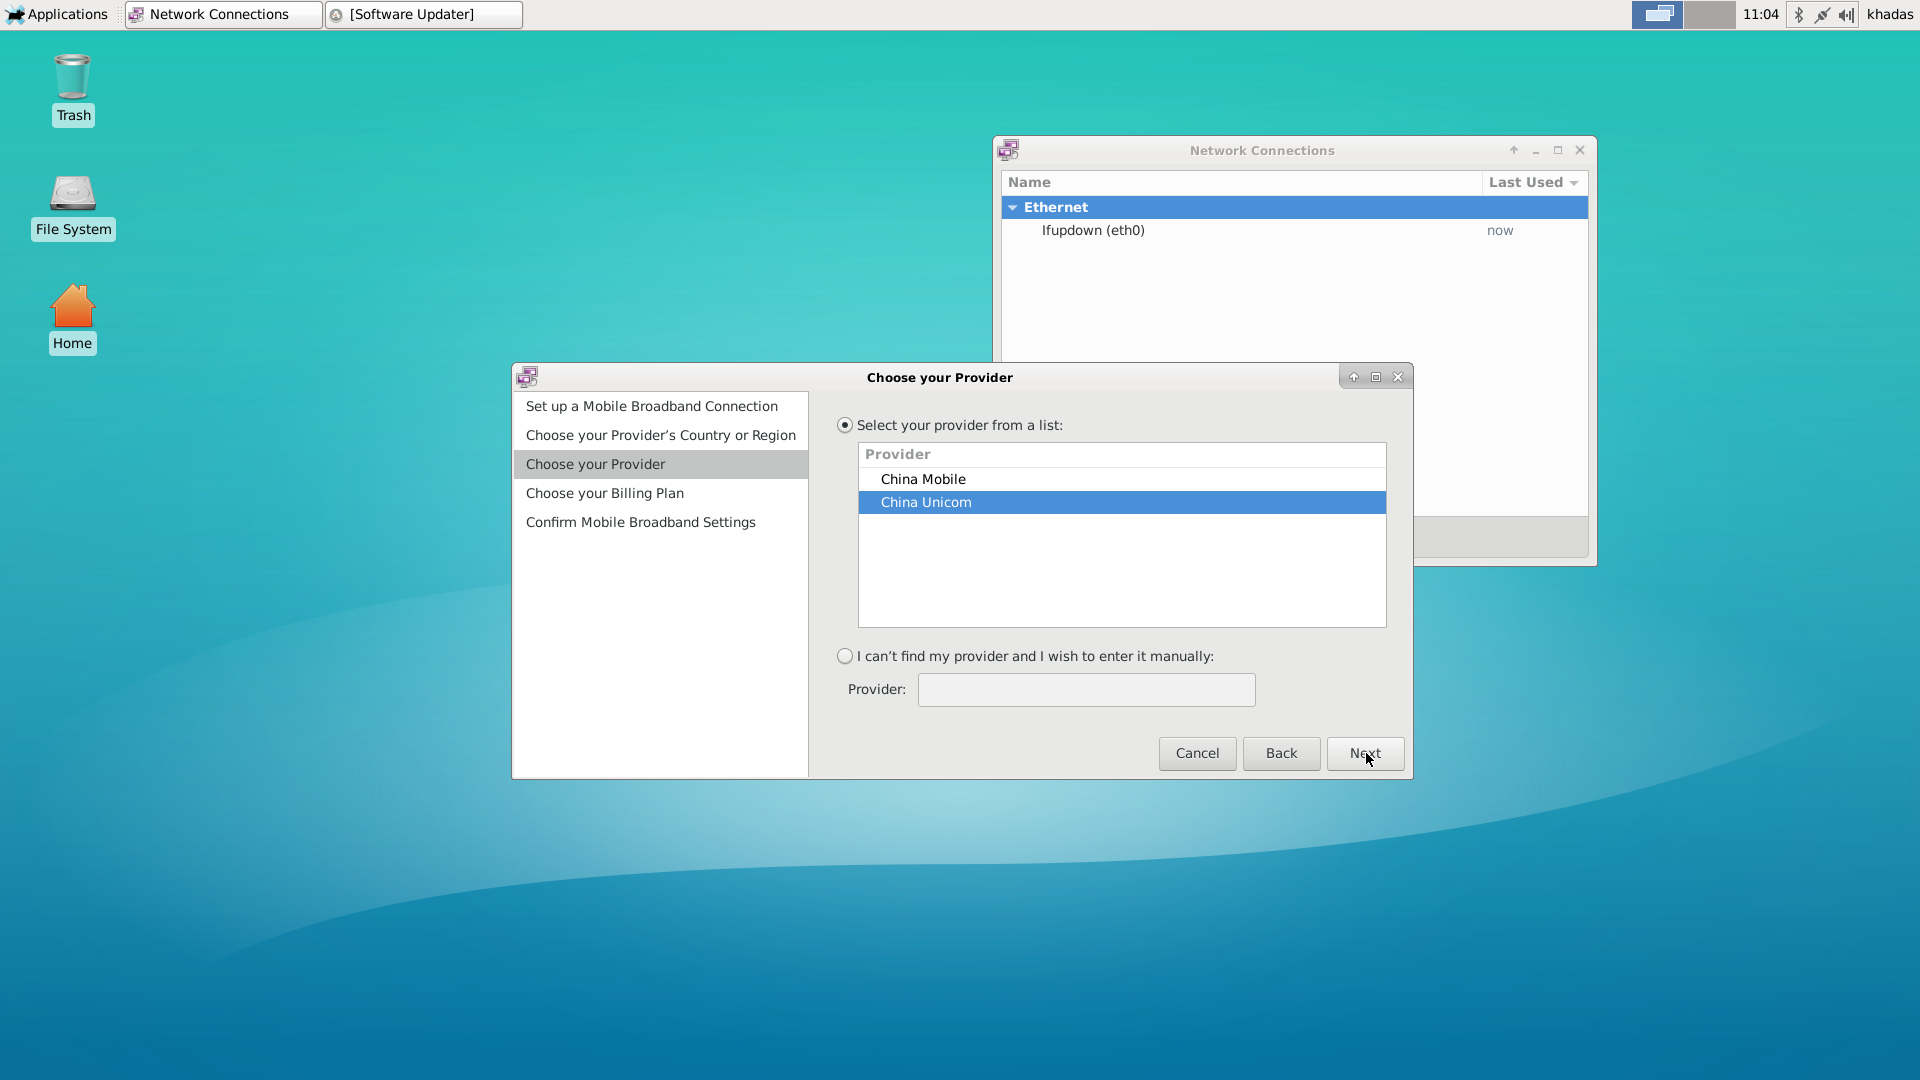
Choose you provider,This needs to be set according to your SIM card.
After choose you provider, the next two steps use defconfigiure. So you just need to choose next.
Step6: set password
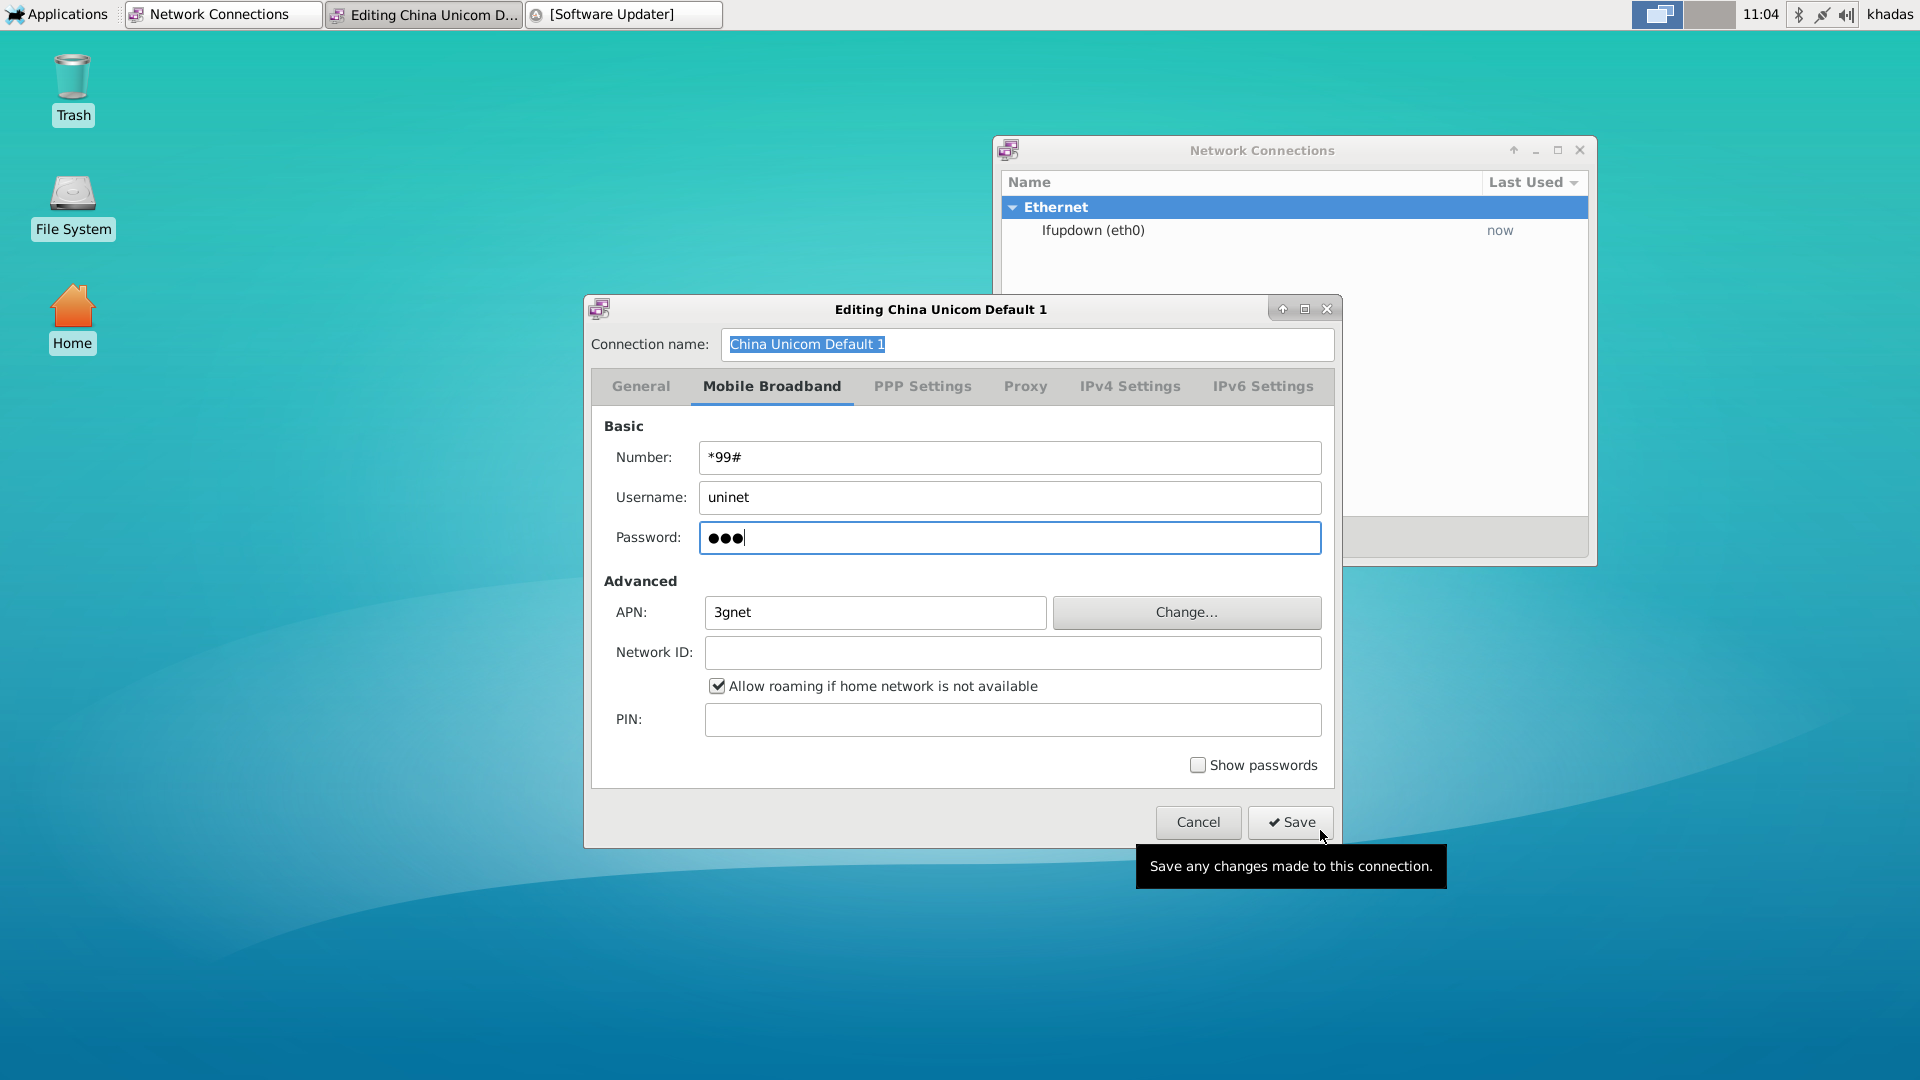
Set you LTE Module connect passwork, you need to remember it . When you connect it , you need to use it.
And you can set you connection name or use default.
Step7: Connect
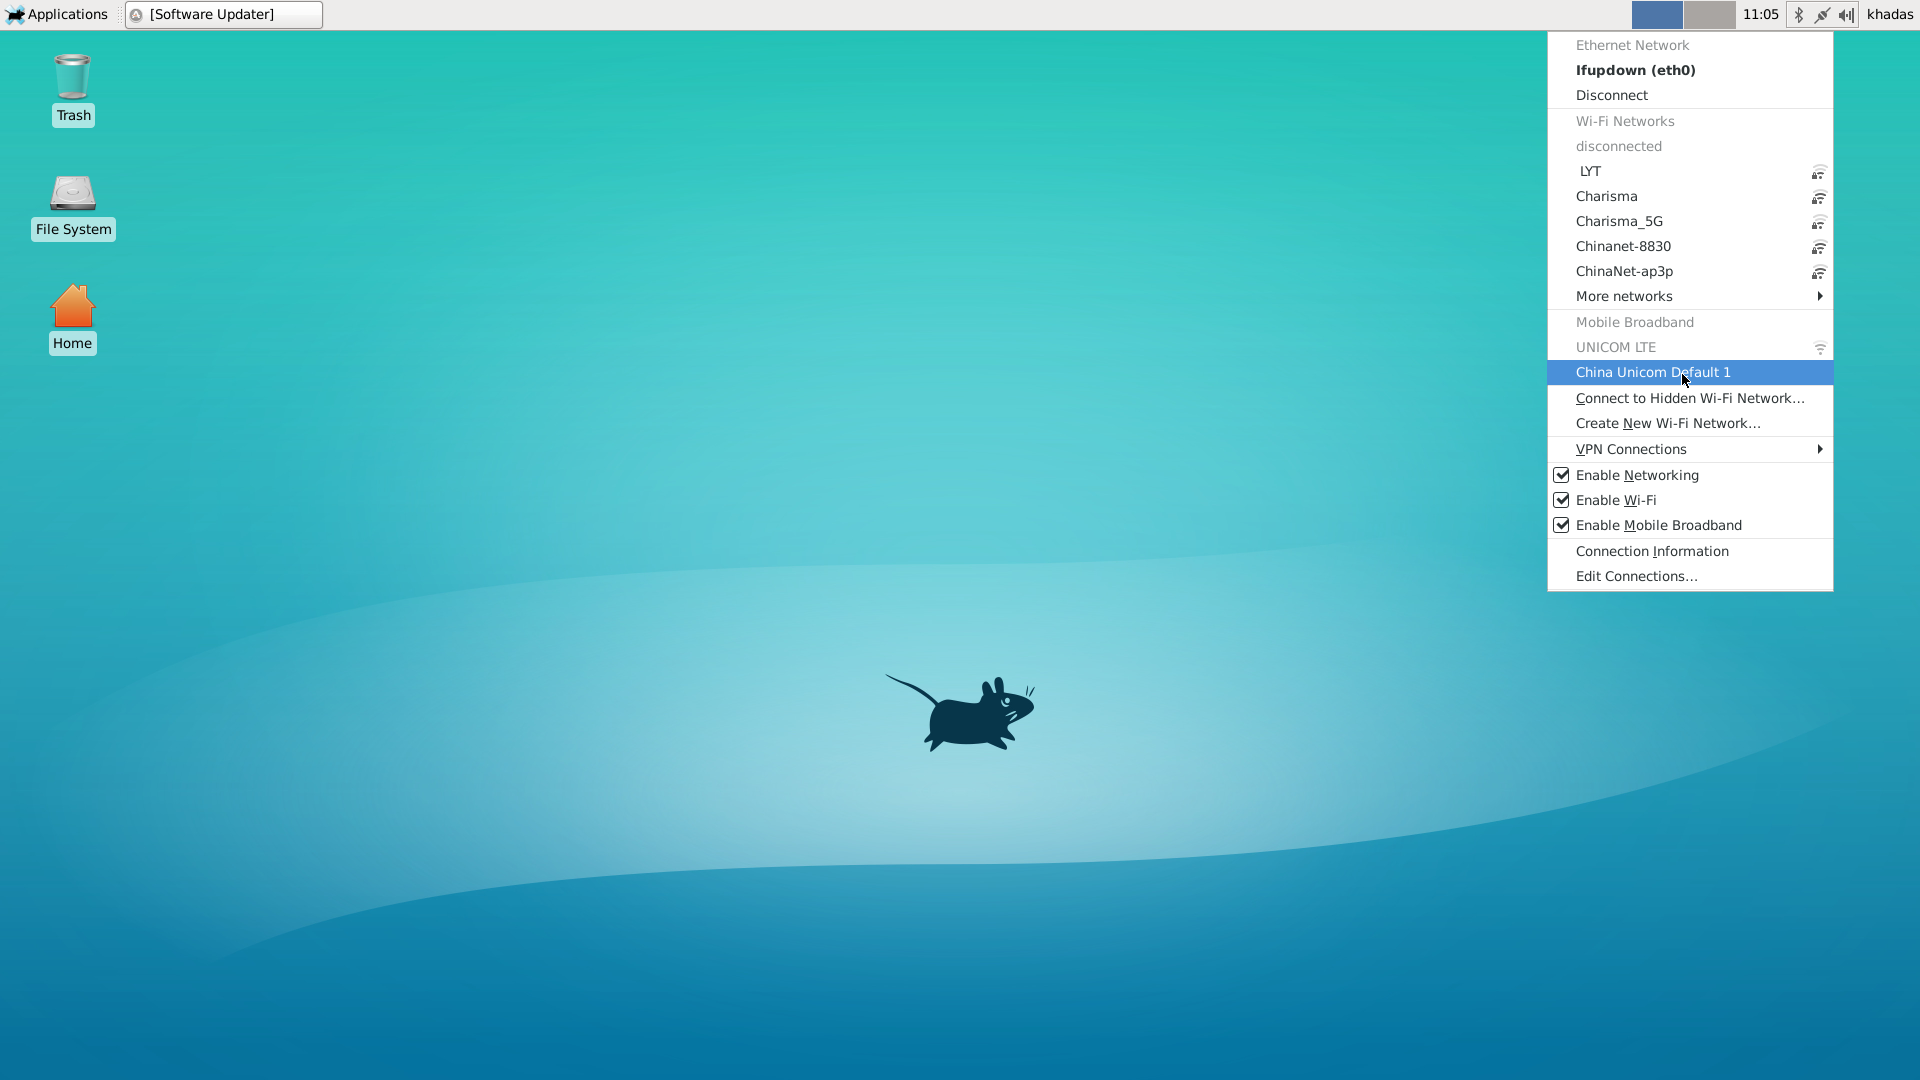
Now, you can connect it , you will find you LTE module connections in network menu.Choose it and input the password which you set in Step6.

And then, you will connect success !
GNOME Desktop
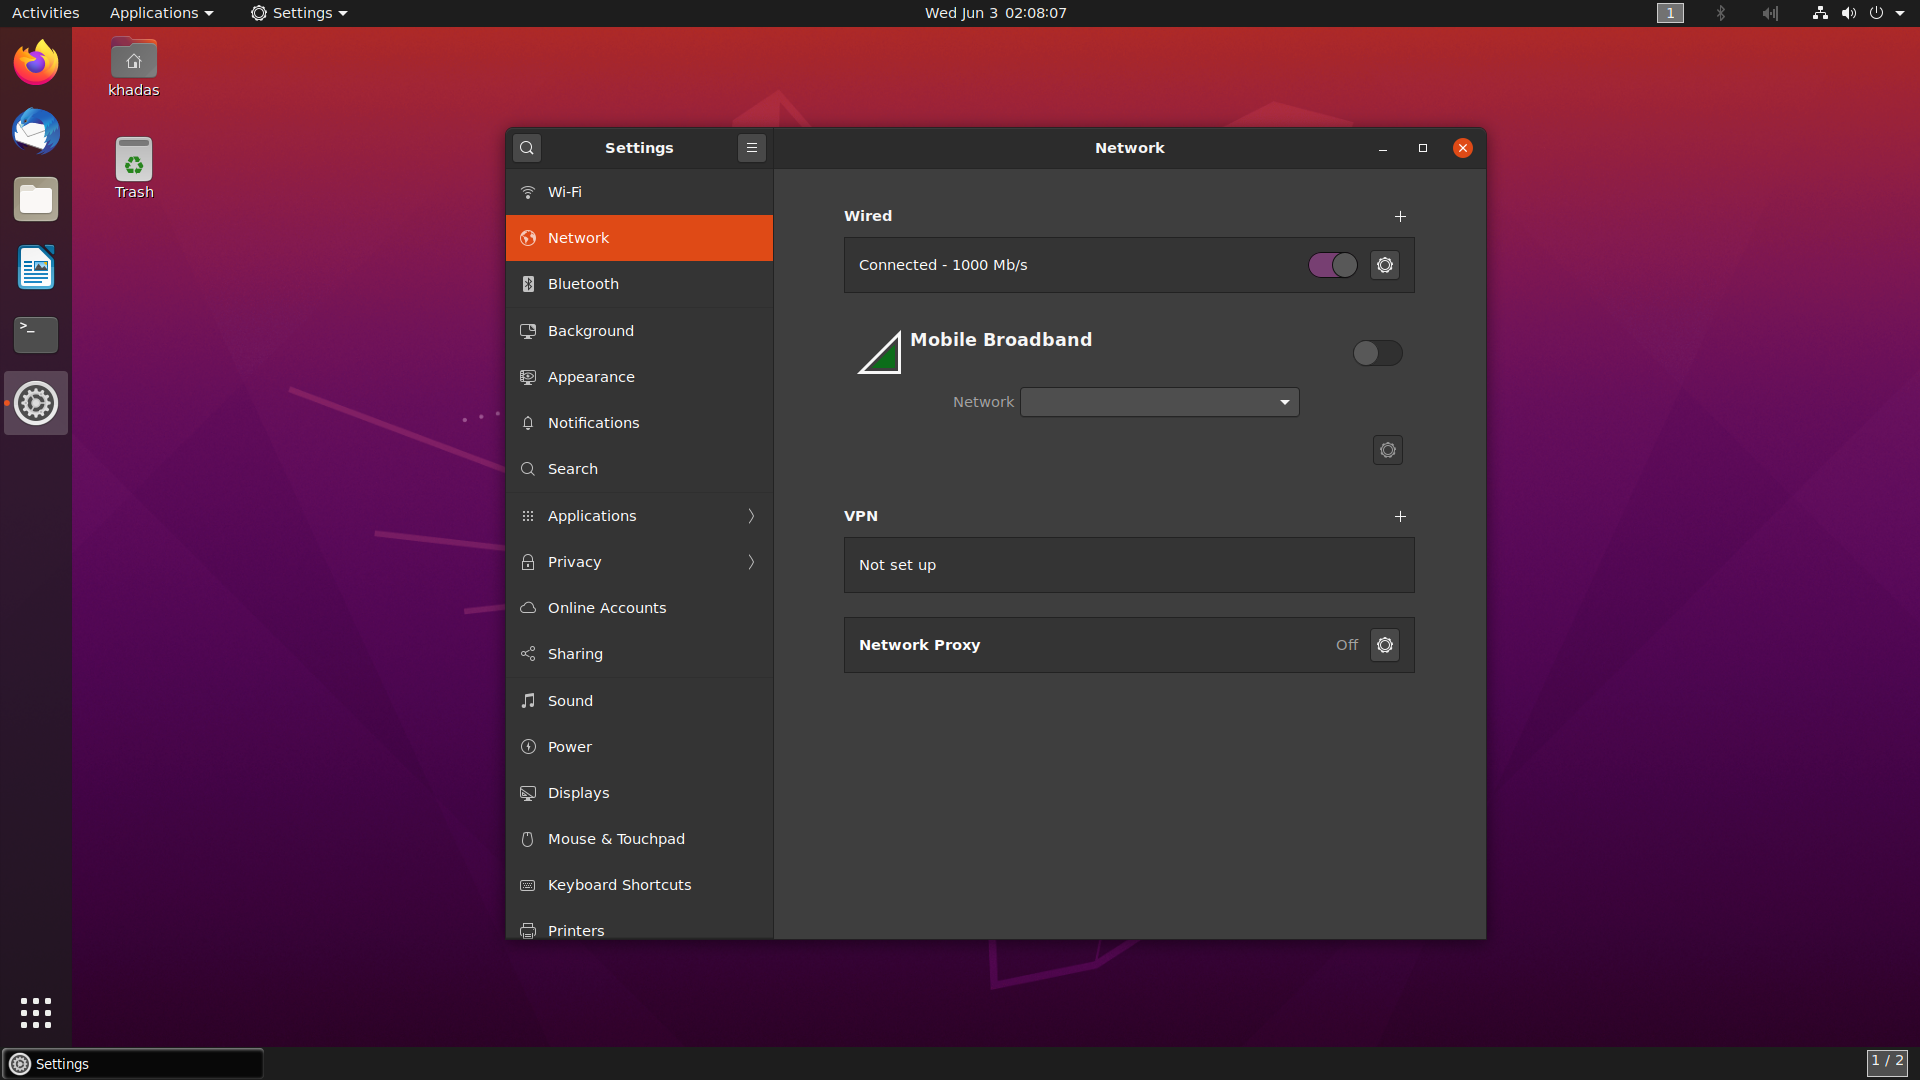
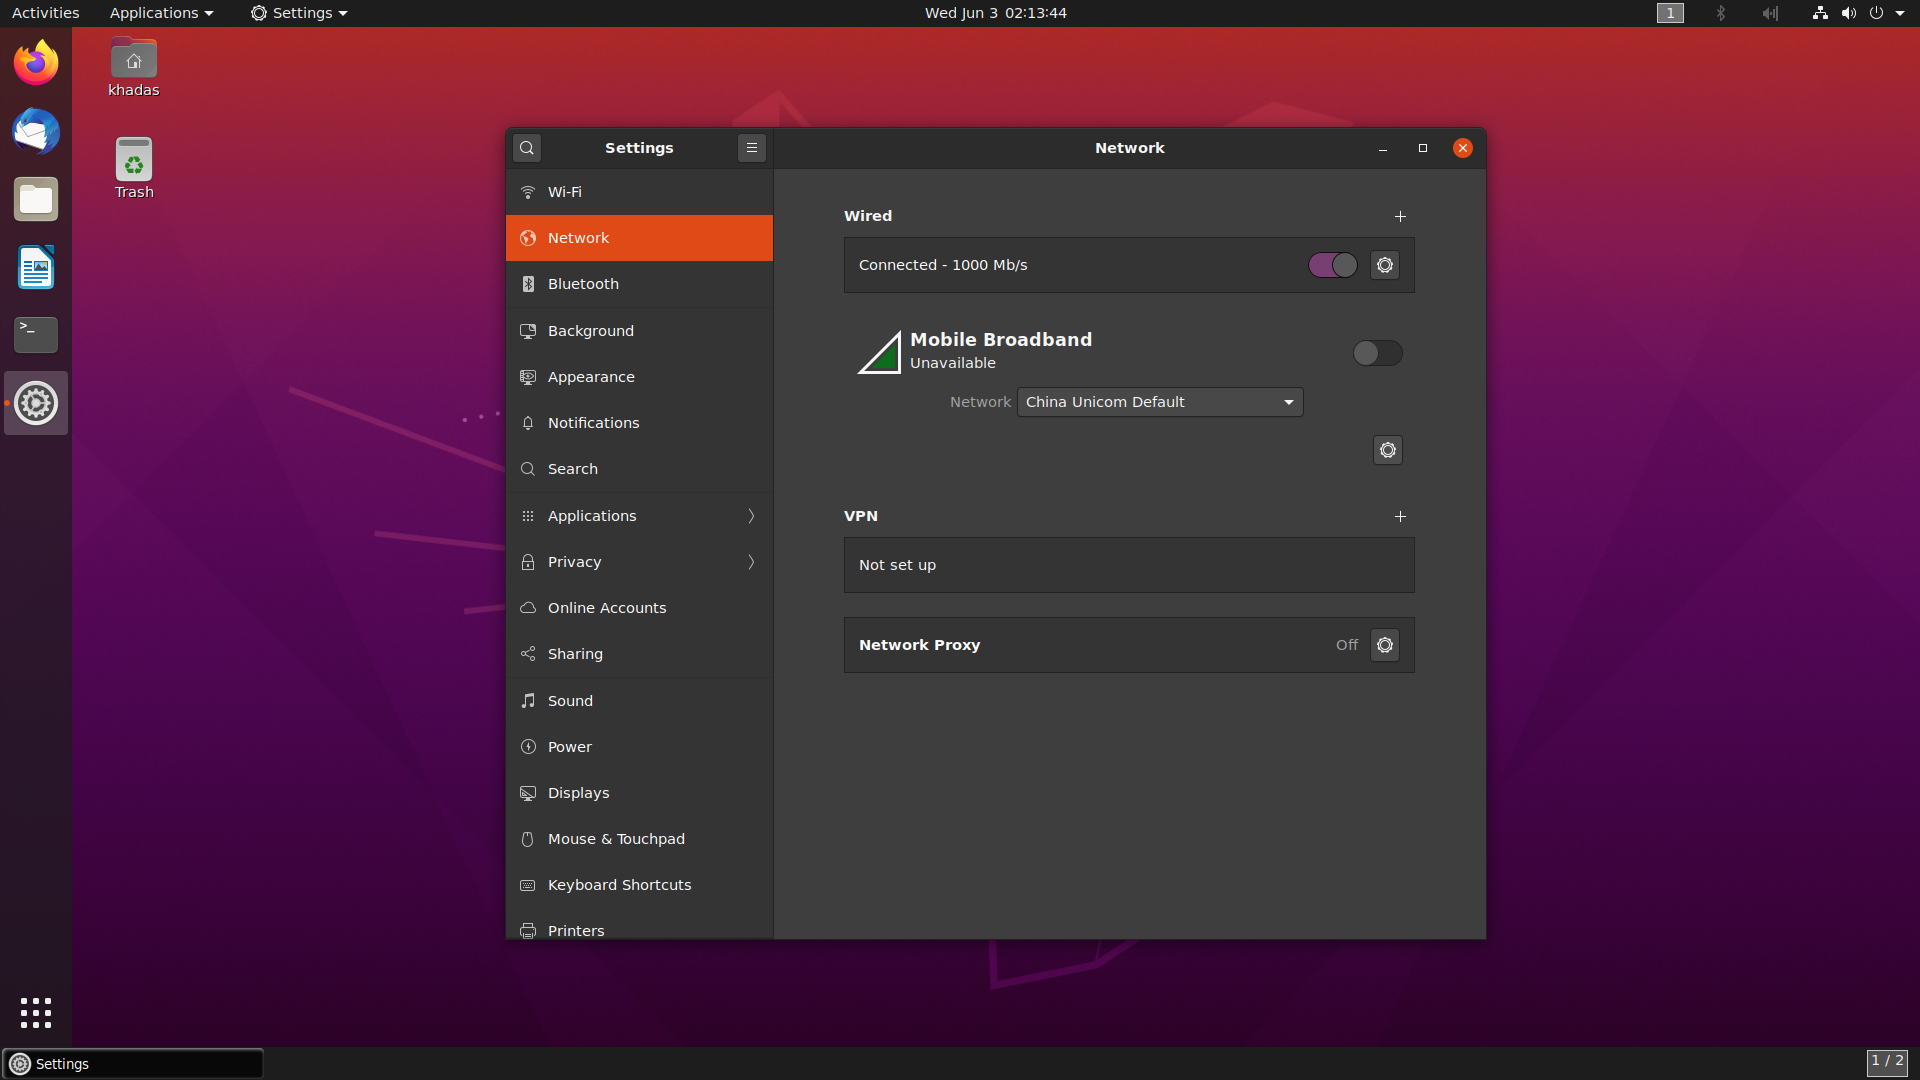
Step1: Open Mobile Board Settings
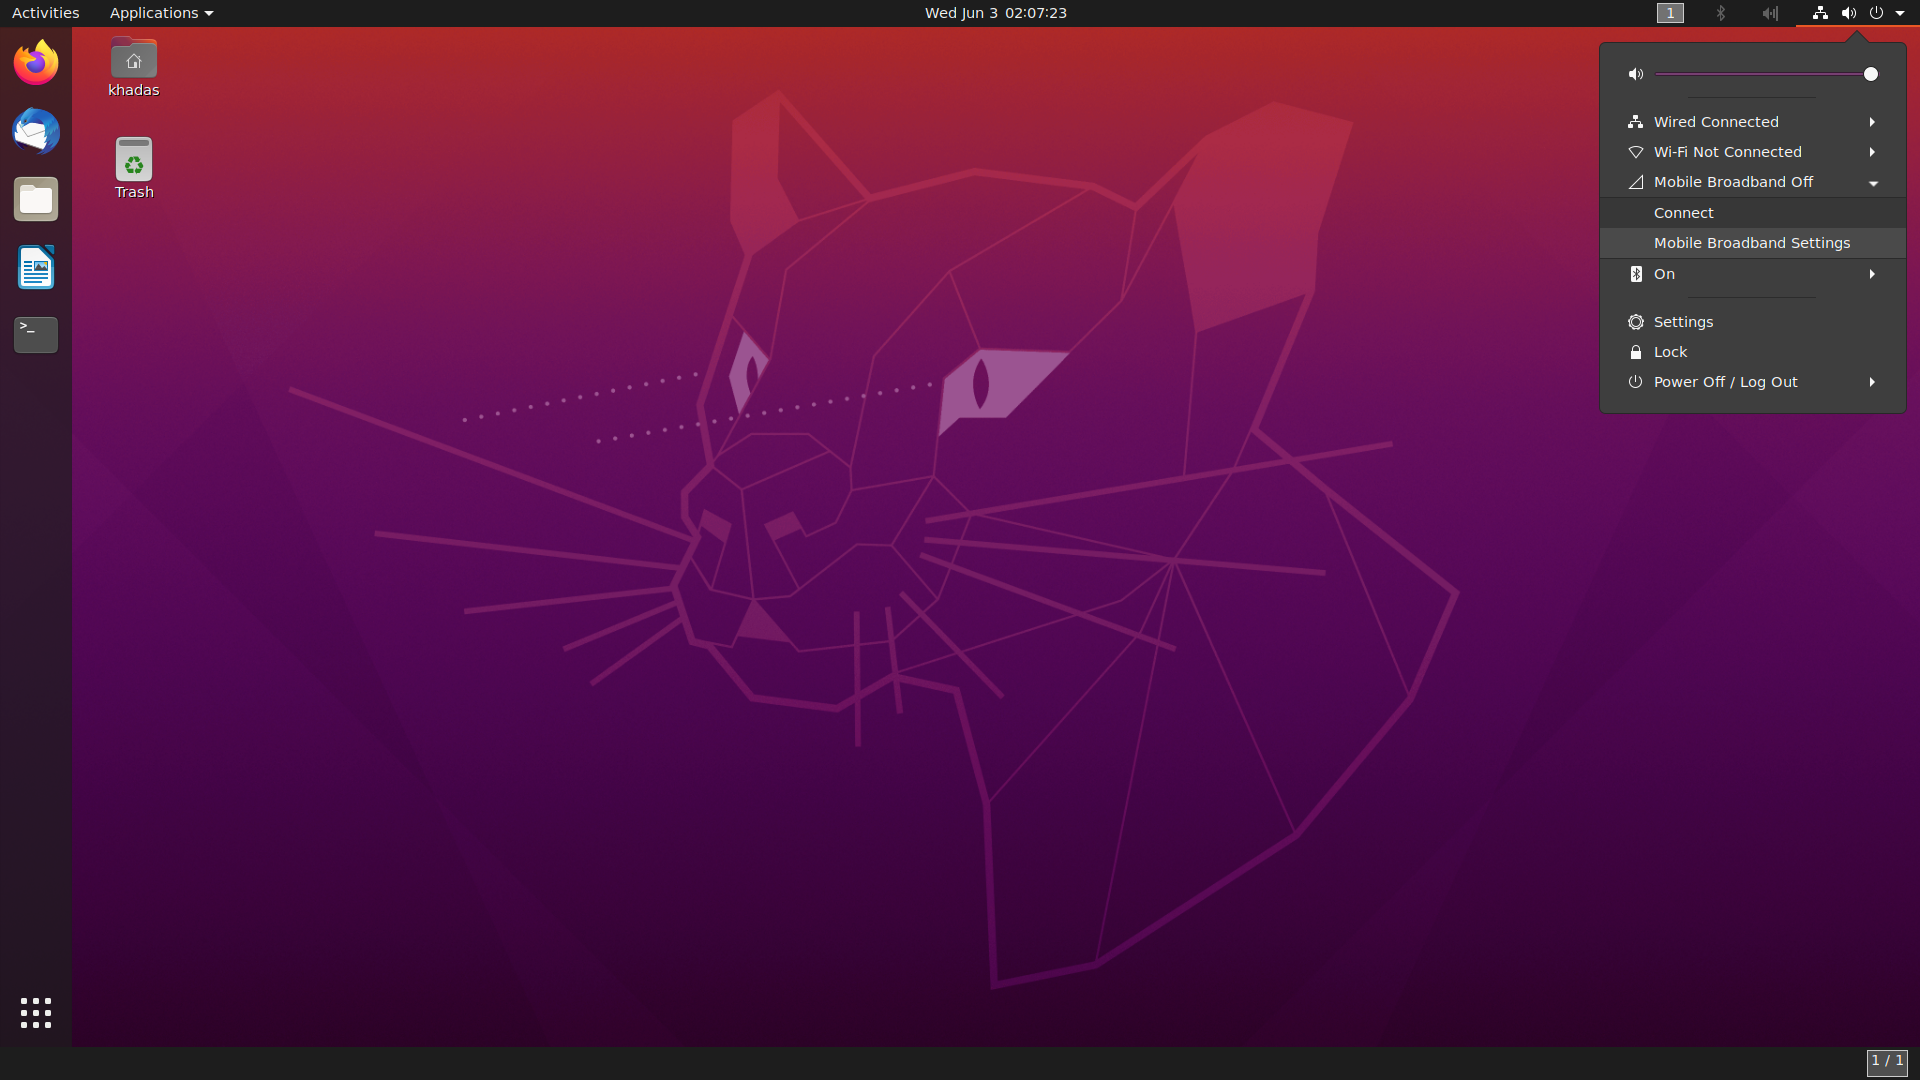
Click the menu bar in the upper right corner to see the ‘mobile board settings’ option
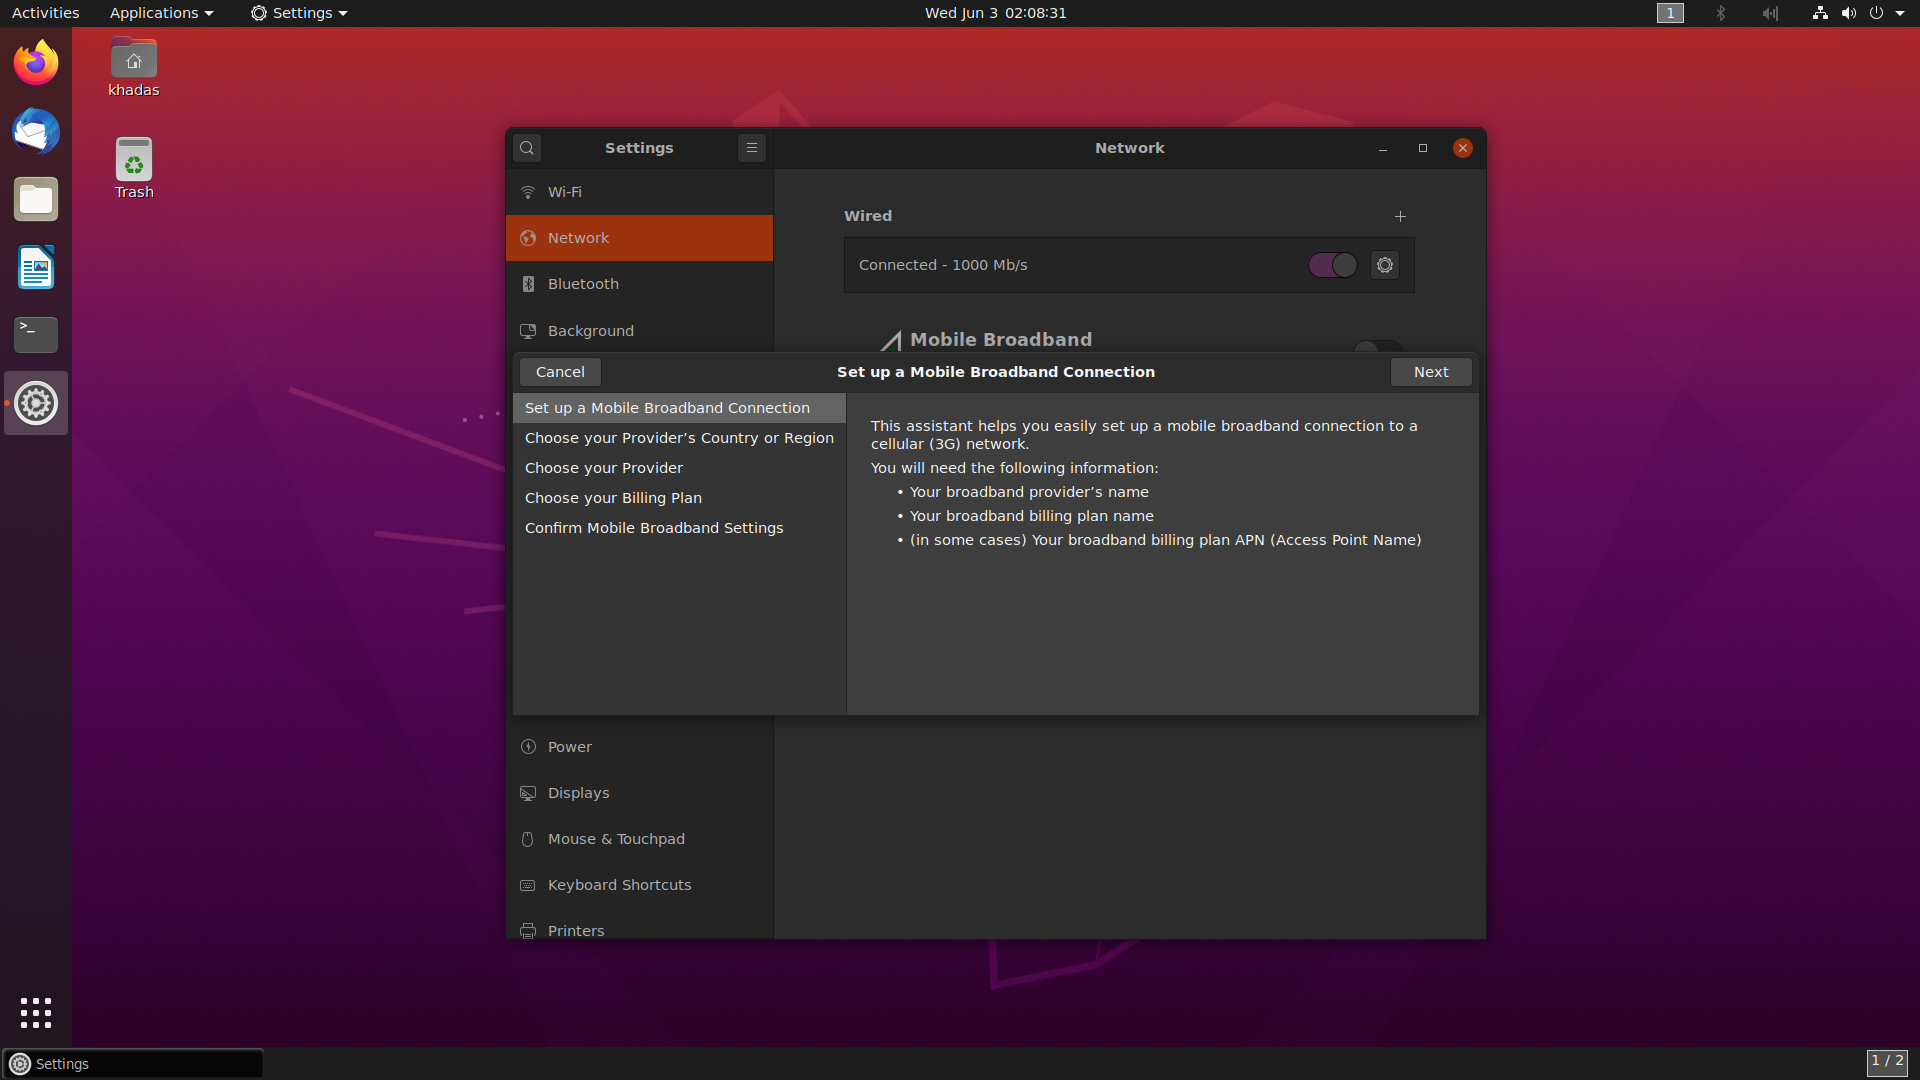
Step2: New Connect
Click the Network, Chooise Add new connection, and then click Next.
Step3: Choose you provider’s country
Choose you provider’s country .

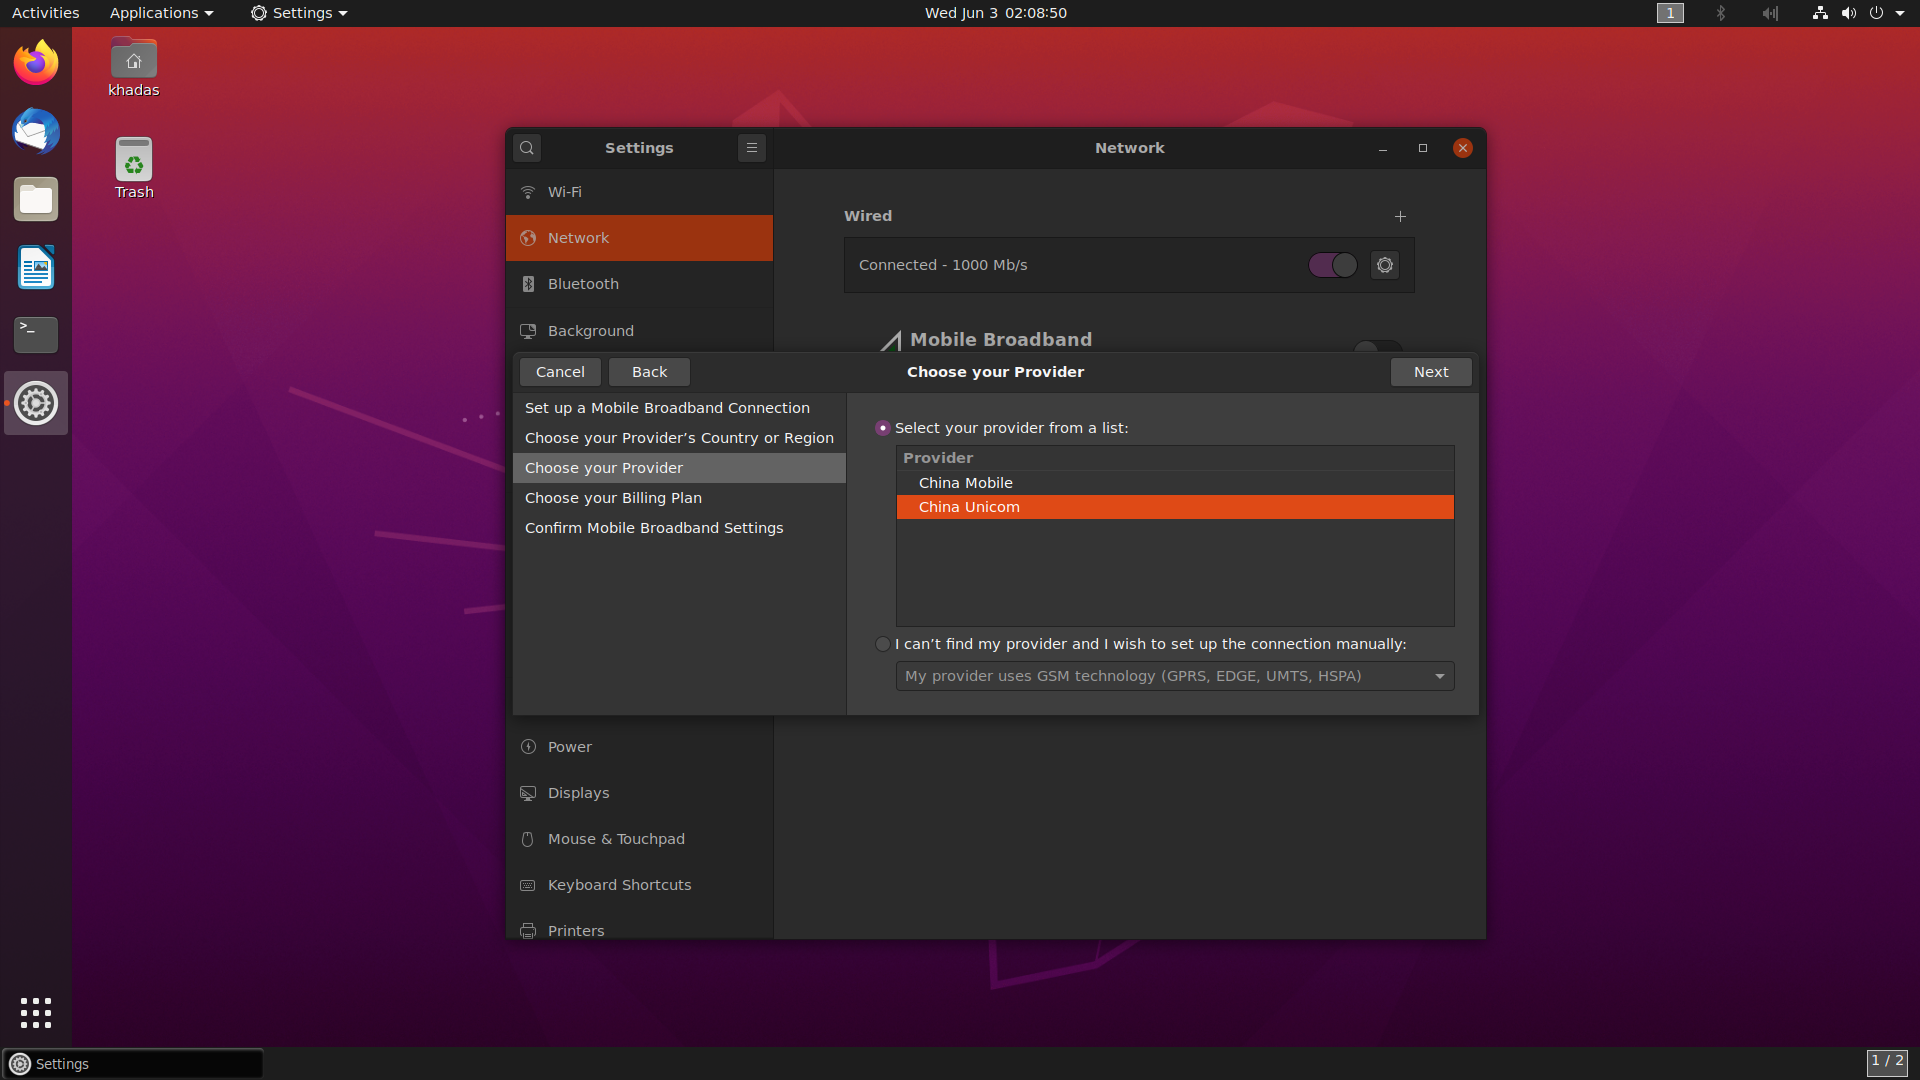
Step4: Choose you provider
Choose you provider,This needs to be set according to your SIM card.
Step5: Enter password and connect
After choose you provider, the next two steps use defconfigiure. So you just need to choose next. And then click apply . Now, you need a password , default is 000.
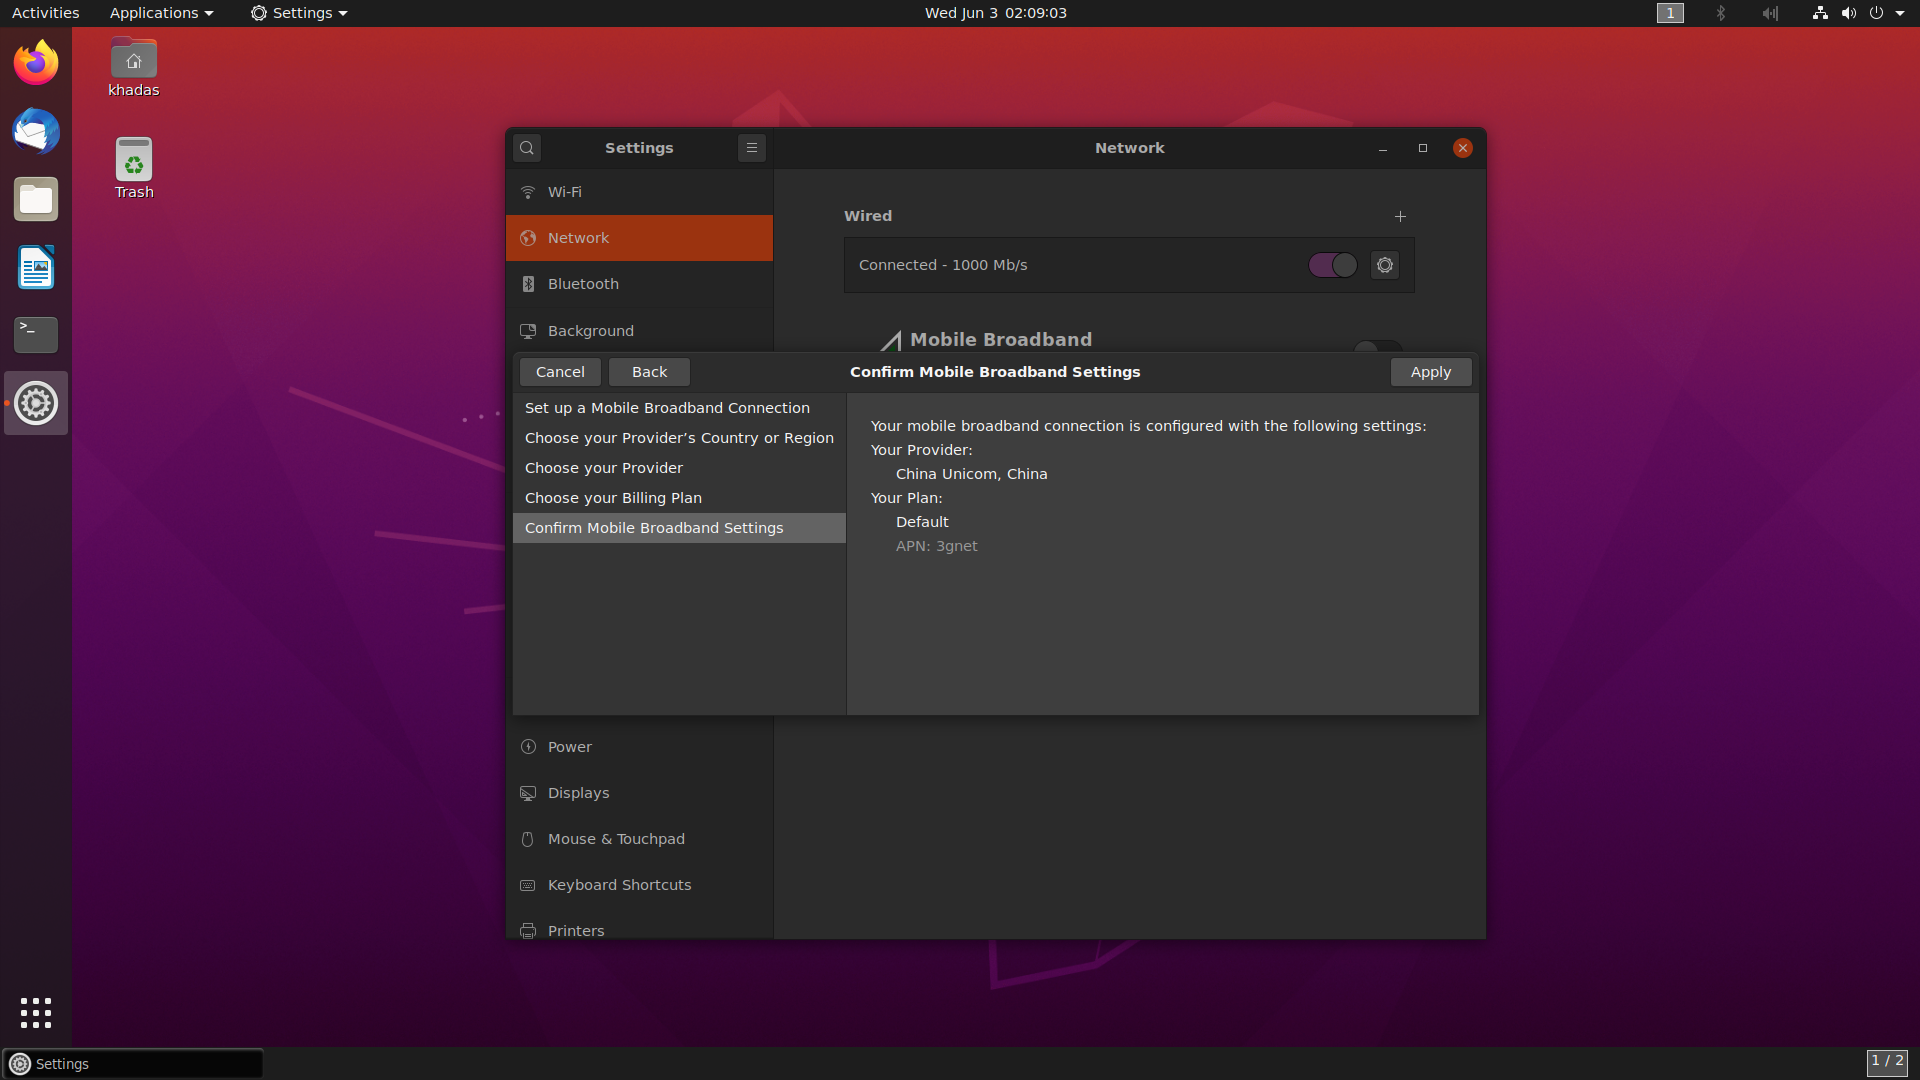
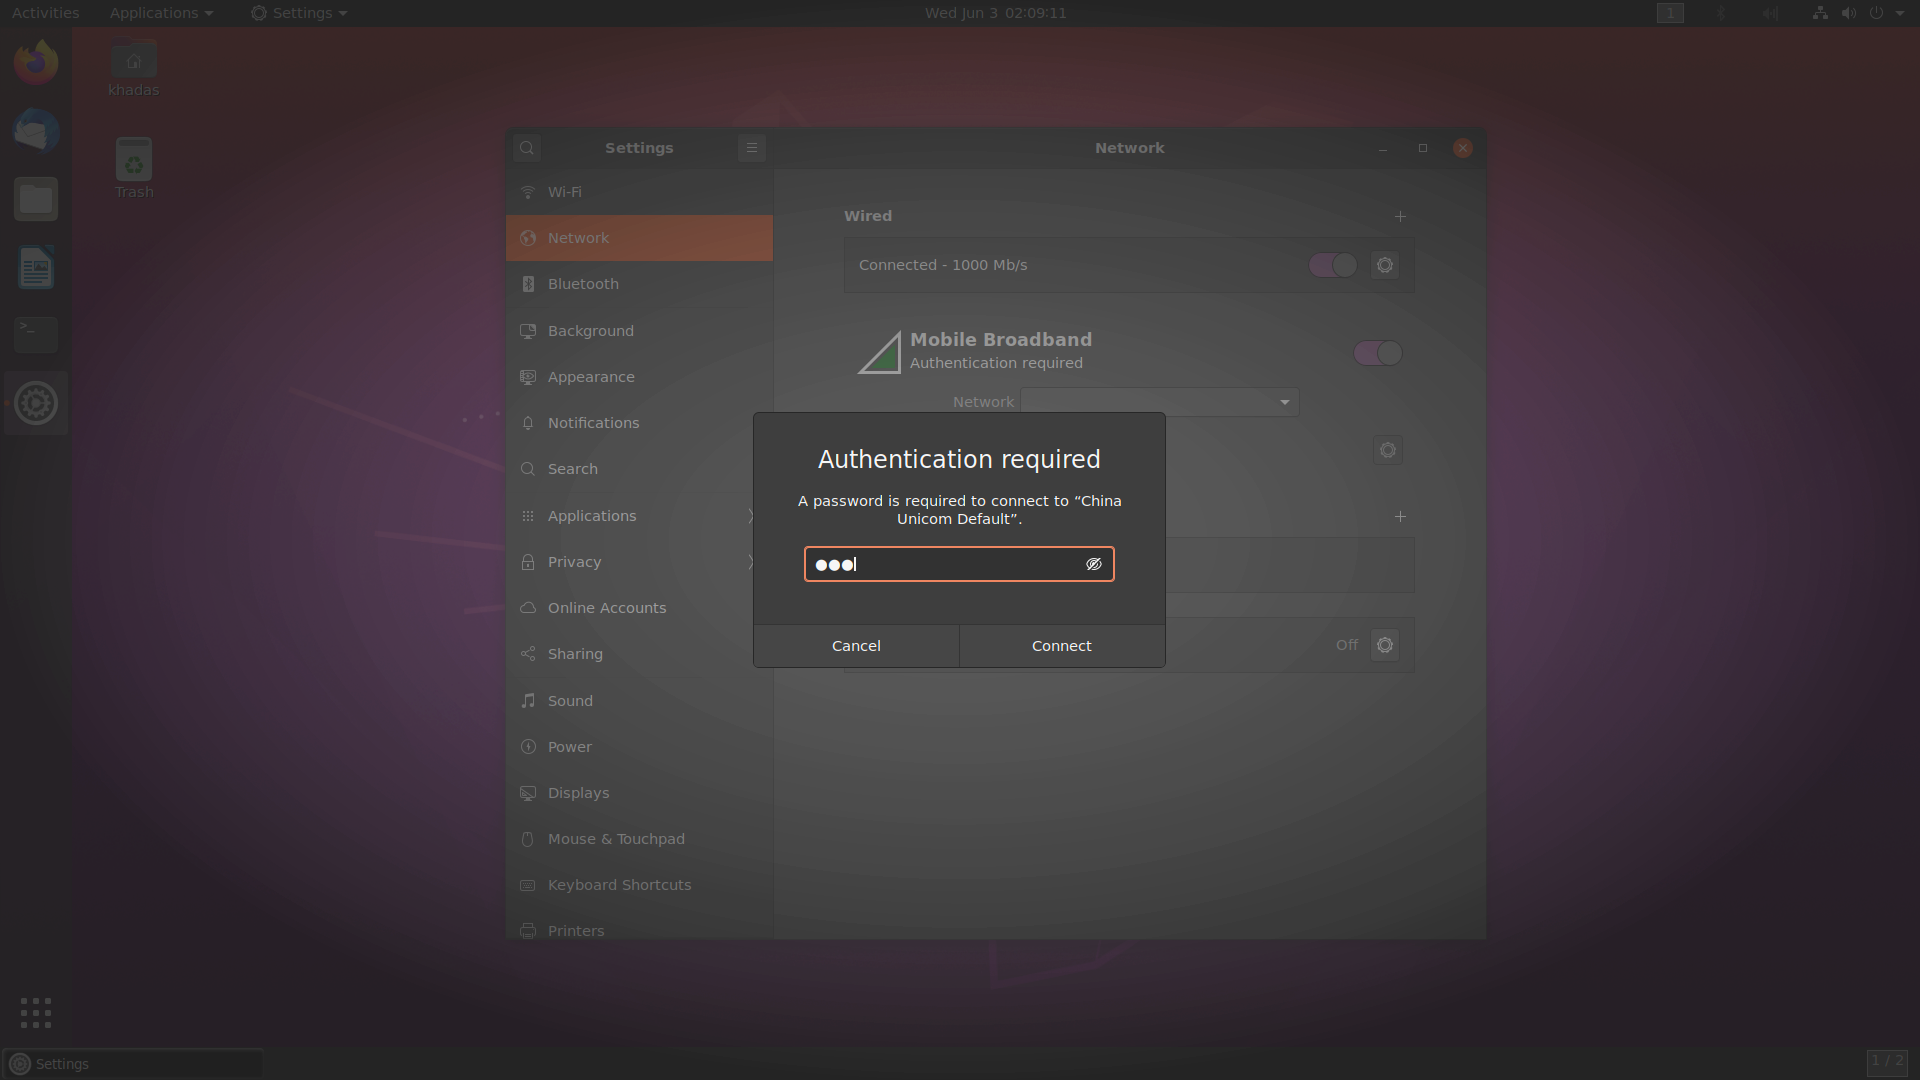
After entering the password, you can connect normally.
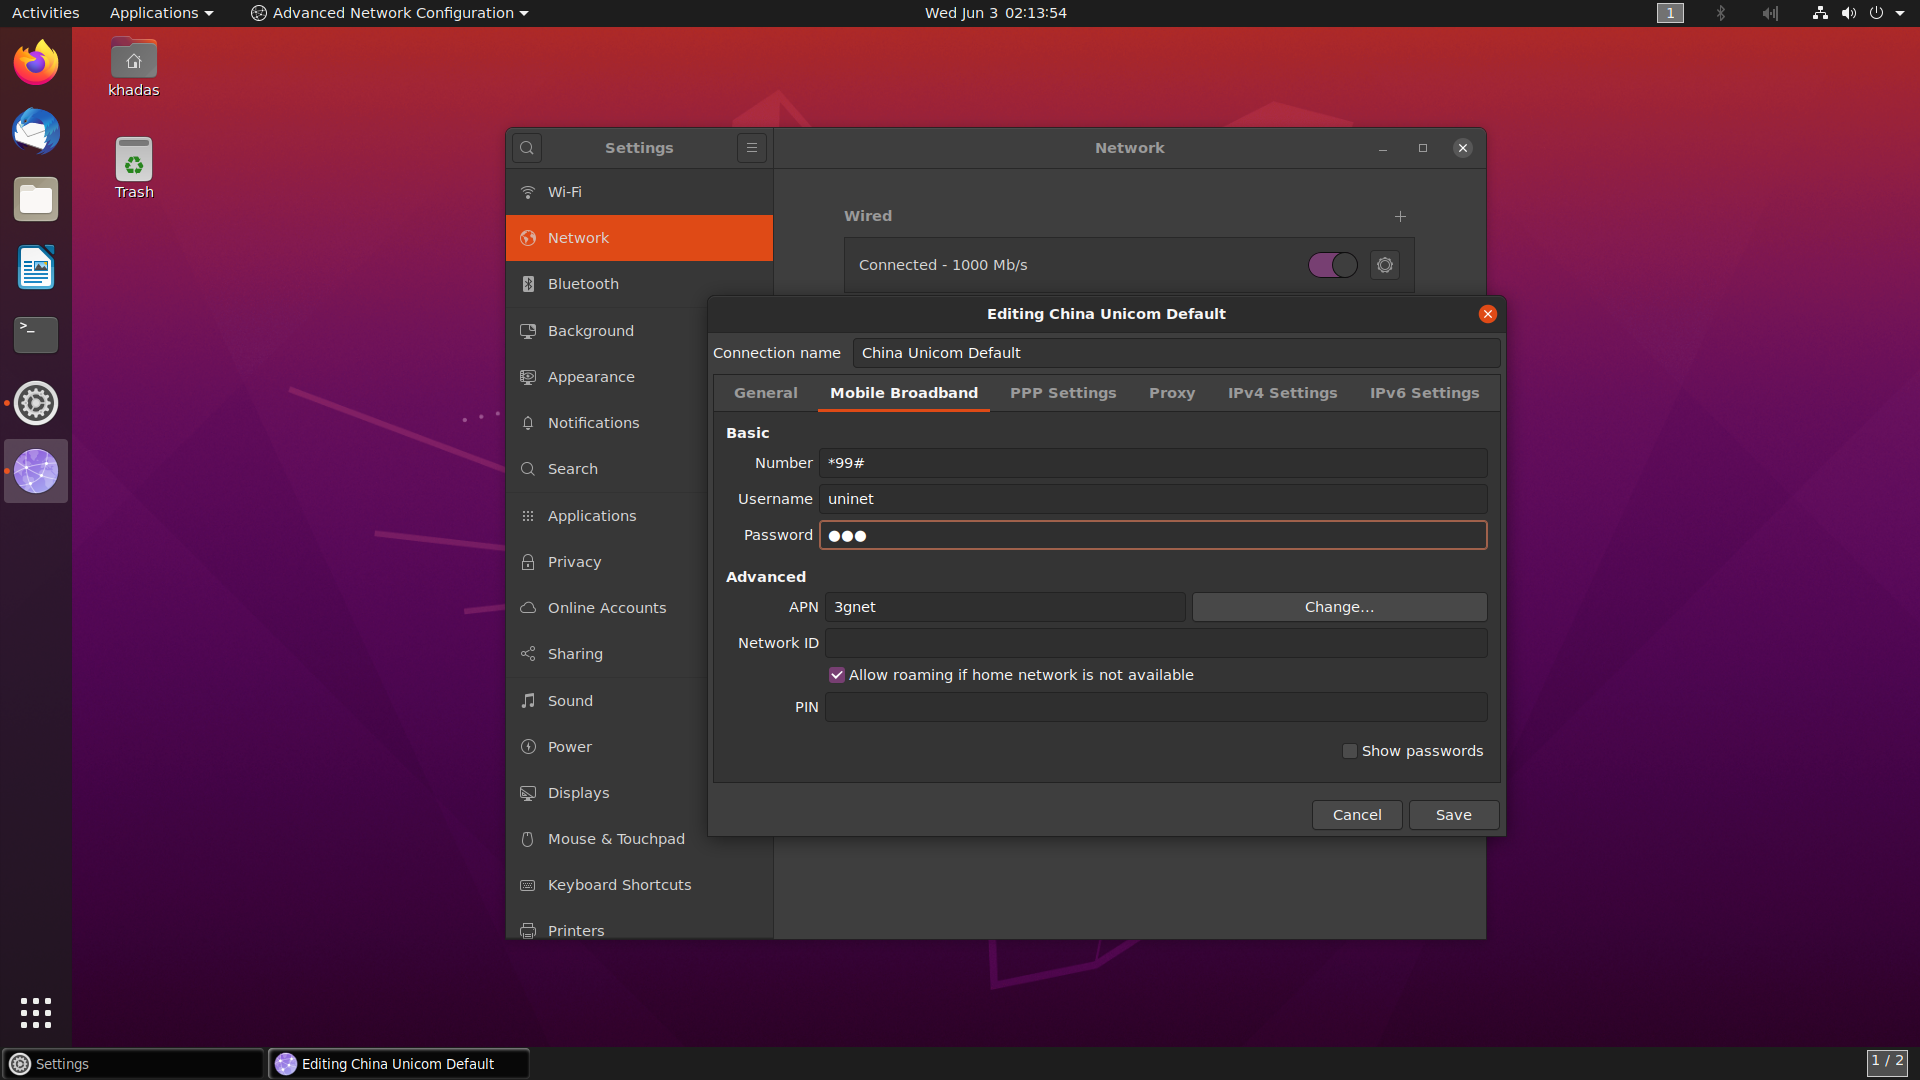
Change Password
Open the corresponding settings and update the password in ‘mobile broadband’
Use LTE Module with Ubuntu Server
If you use Ubuntu Server, you just need a command to connect it .
1 | $ sudo nmcli connection add type gsm apn 3gnet user 0000 password 0000 con-name "EM06 4G" |
How to check you connection is success
You can test it by ping command. And you need to use -I option to choose the LTE Module.
check your network node
1 | $ ifconfig -a |
You will find wwan0 via command ifconfig -a
Use ping command to test
1 | $ ping www.baidu.com -I wwan0 |
If you LTE module work fine, It will be success.